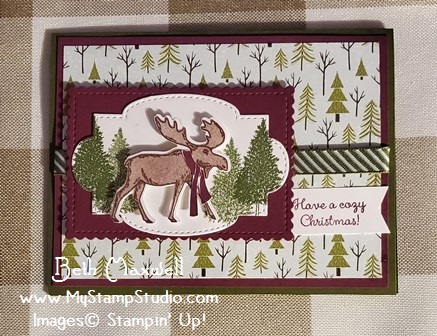
Add a little bit of nature with a little bit of whimsy and you send up with the Merry Moose Stamp set. I have been making lots of cards with this set and cannot wait to share them with you through out the week. Today’s featured card combines the Merry Moose Stamp set, Moose Punch and the Trimming the Town designer series paper. All these products can be found in the August-December 2020 Mini Catalog. These products are only available for a short amount of time, so if you like what you see please head over to my online store and order yours today. After January 4th, they will not be available.
I used a non traditional color combo on this Holiday card. It features Mossy Meadow and Rich Razzleberry. You could easily switch this up to a Thinking of You, Birthday or Thank you card simply by pulling in different sentiment from other sets. Try Itty Bitty Birthdays stamp set or Here’s a Card stamp set.
Would you like to get more use from your stamp sets? Would you like to make many cards at one time, yet be unique? I have just the solution for you. Welcome to the Three-Fer Class tutorial I am offering. From just one stamp set, punch, designer paper and card stock you can make 3 different styles of cards simply by switching how you use your designer paper and punches. I am offering this tutorial free with the purchase of Stamp Set and Punch order. See my Specials and Promotions page for details.
I will be hosting a live Event on my Facebook Business page to celebrate World Card Making Day. This will be the first of a series of Events I will be hosting the first Saturday of each month. It will be called Stamp A-Long Saturday. I will be demonstrating a project that you can stamp along with me during the live, you can ask questions, share ideas and comment throughout the live. The week prior to the event, I will post the supplies you will need. This list will be somewhat generic so you can use the supplies you have in your stash. But as always if you find something you would like that I am showing and you don’t already have a demonstrator you can shop on my online store.
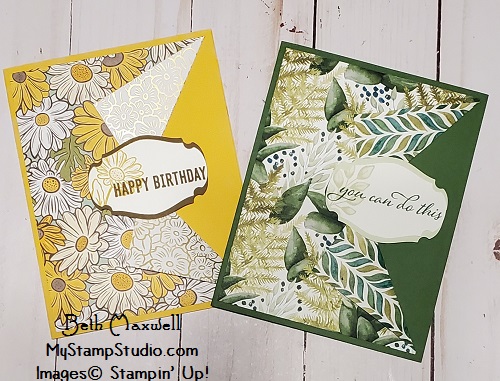
These are samples of what the Designer Paper Fun Flap card will look like. However for the live, I will feature other products.
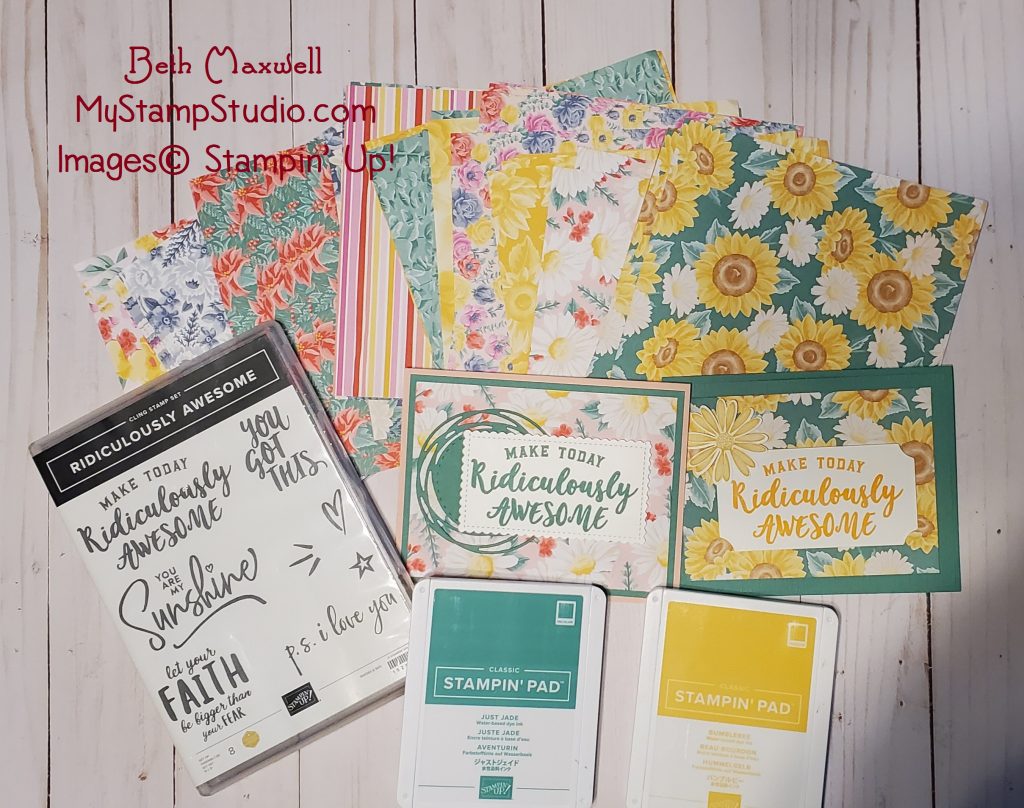
This Stamp A-long will show you how you can make 6 easy Designer Paper Fun flap cards. I will be sharing some big announcements so make sure to join or watch the live later! I can hardly wait to share this with all of you!!!!!!I will actually be making CHRISTMAS GREETING cards using the supplies show in the photo. If you would like to stamp along with me on Saturday, here is what you will need to make 6 cards, so grab whatever is in your stash. The supplies I will be using are pictured here:
1 – 12 x 12 double sided designer paper
3 – 81/2″ x 11″ card stock that coordinates with your designer paper choice
2 – 8 1/2″ x 11″ white or vanilla cardstock (whichever matches your designer paper)Stamp set with sentiments and images (or a set of each
Ink Pad – coordinates with your designer paper choice
6- envelopes (slightly larger than 5 1/2″ x 4 1/4″ which is the finished card size)
Punch or Die that will fit your selected sentiment.
Adhesive
Trimmer and scoring tool.
Let me know if you have any questions before, during or after live. I will try to answer as soon as I can. Please share this event with friends and family, create a watch party, and I would so appreciate if you would LIKE and COMMENT on the posts/event.
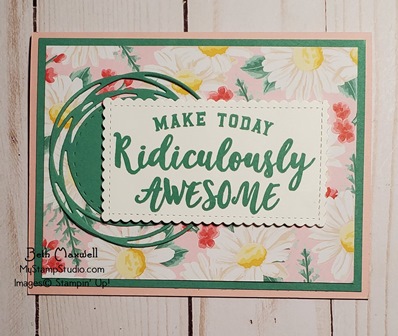
Even though this is a sentiment only set, I just love it for making quick cards. Add some ink, designer paper, cardstock and you are ready to go. You can always add a punch or a die to cut out the stamped sentiment. Add a little bling for that somethin’ somethin’ and you are all set to send it out. You could even make a stack of cards to have on hand. Breaking news…there is a Designer Paper special coming soon.
This first card I used just Jade card stock because it matched the flowers for every season DSP I selected. I embossed the first layer with the Subtle 3D Embossing folder and added my layer of designer paper. I then choose to use Bumble Bee ink for the sentiment I stamped on whisper white card stock and cut out using the Painted Labels dies. If felt like the card needed something more so I stamped two daisies from the Daisy Lane stamp set and punches them out using the medium daisy punch.
This second card, I choose a card stock for the base that was not listed in the coordinating colors as I thought it still went well with the DSP. I choose the Blushing Bride card stock and used Just Jade for my first layer and die cut shape from the Painted labels dies. I then stamped my sentiment in Just Jade and used the Stitched to Sweetly dies to cut it out.
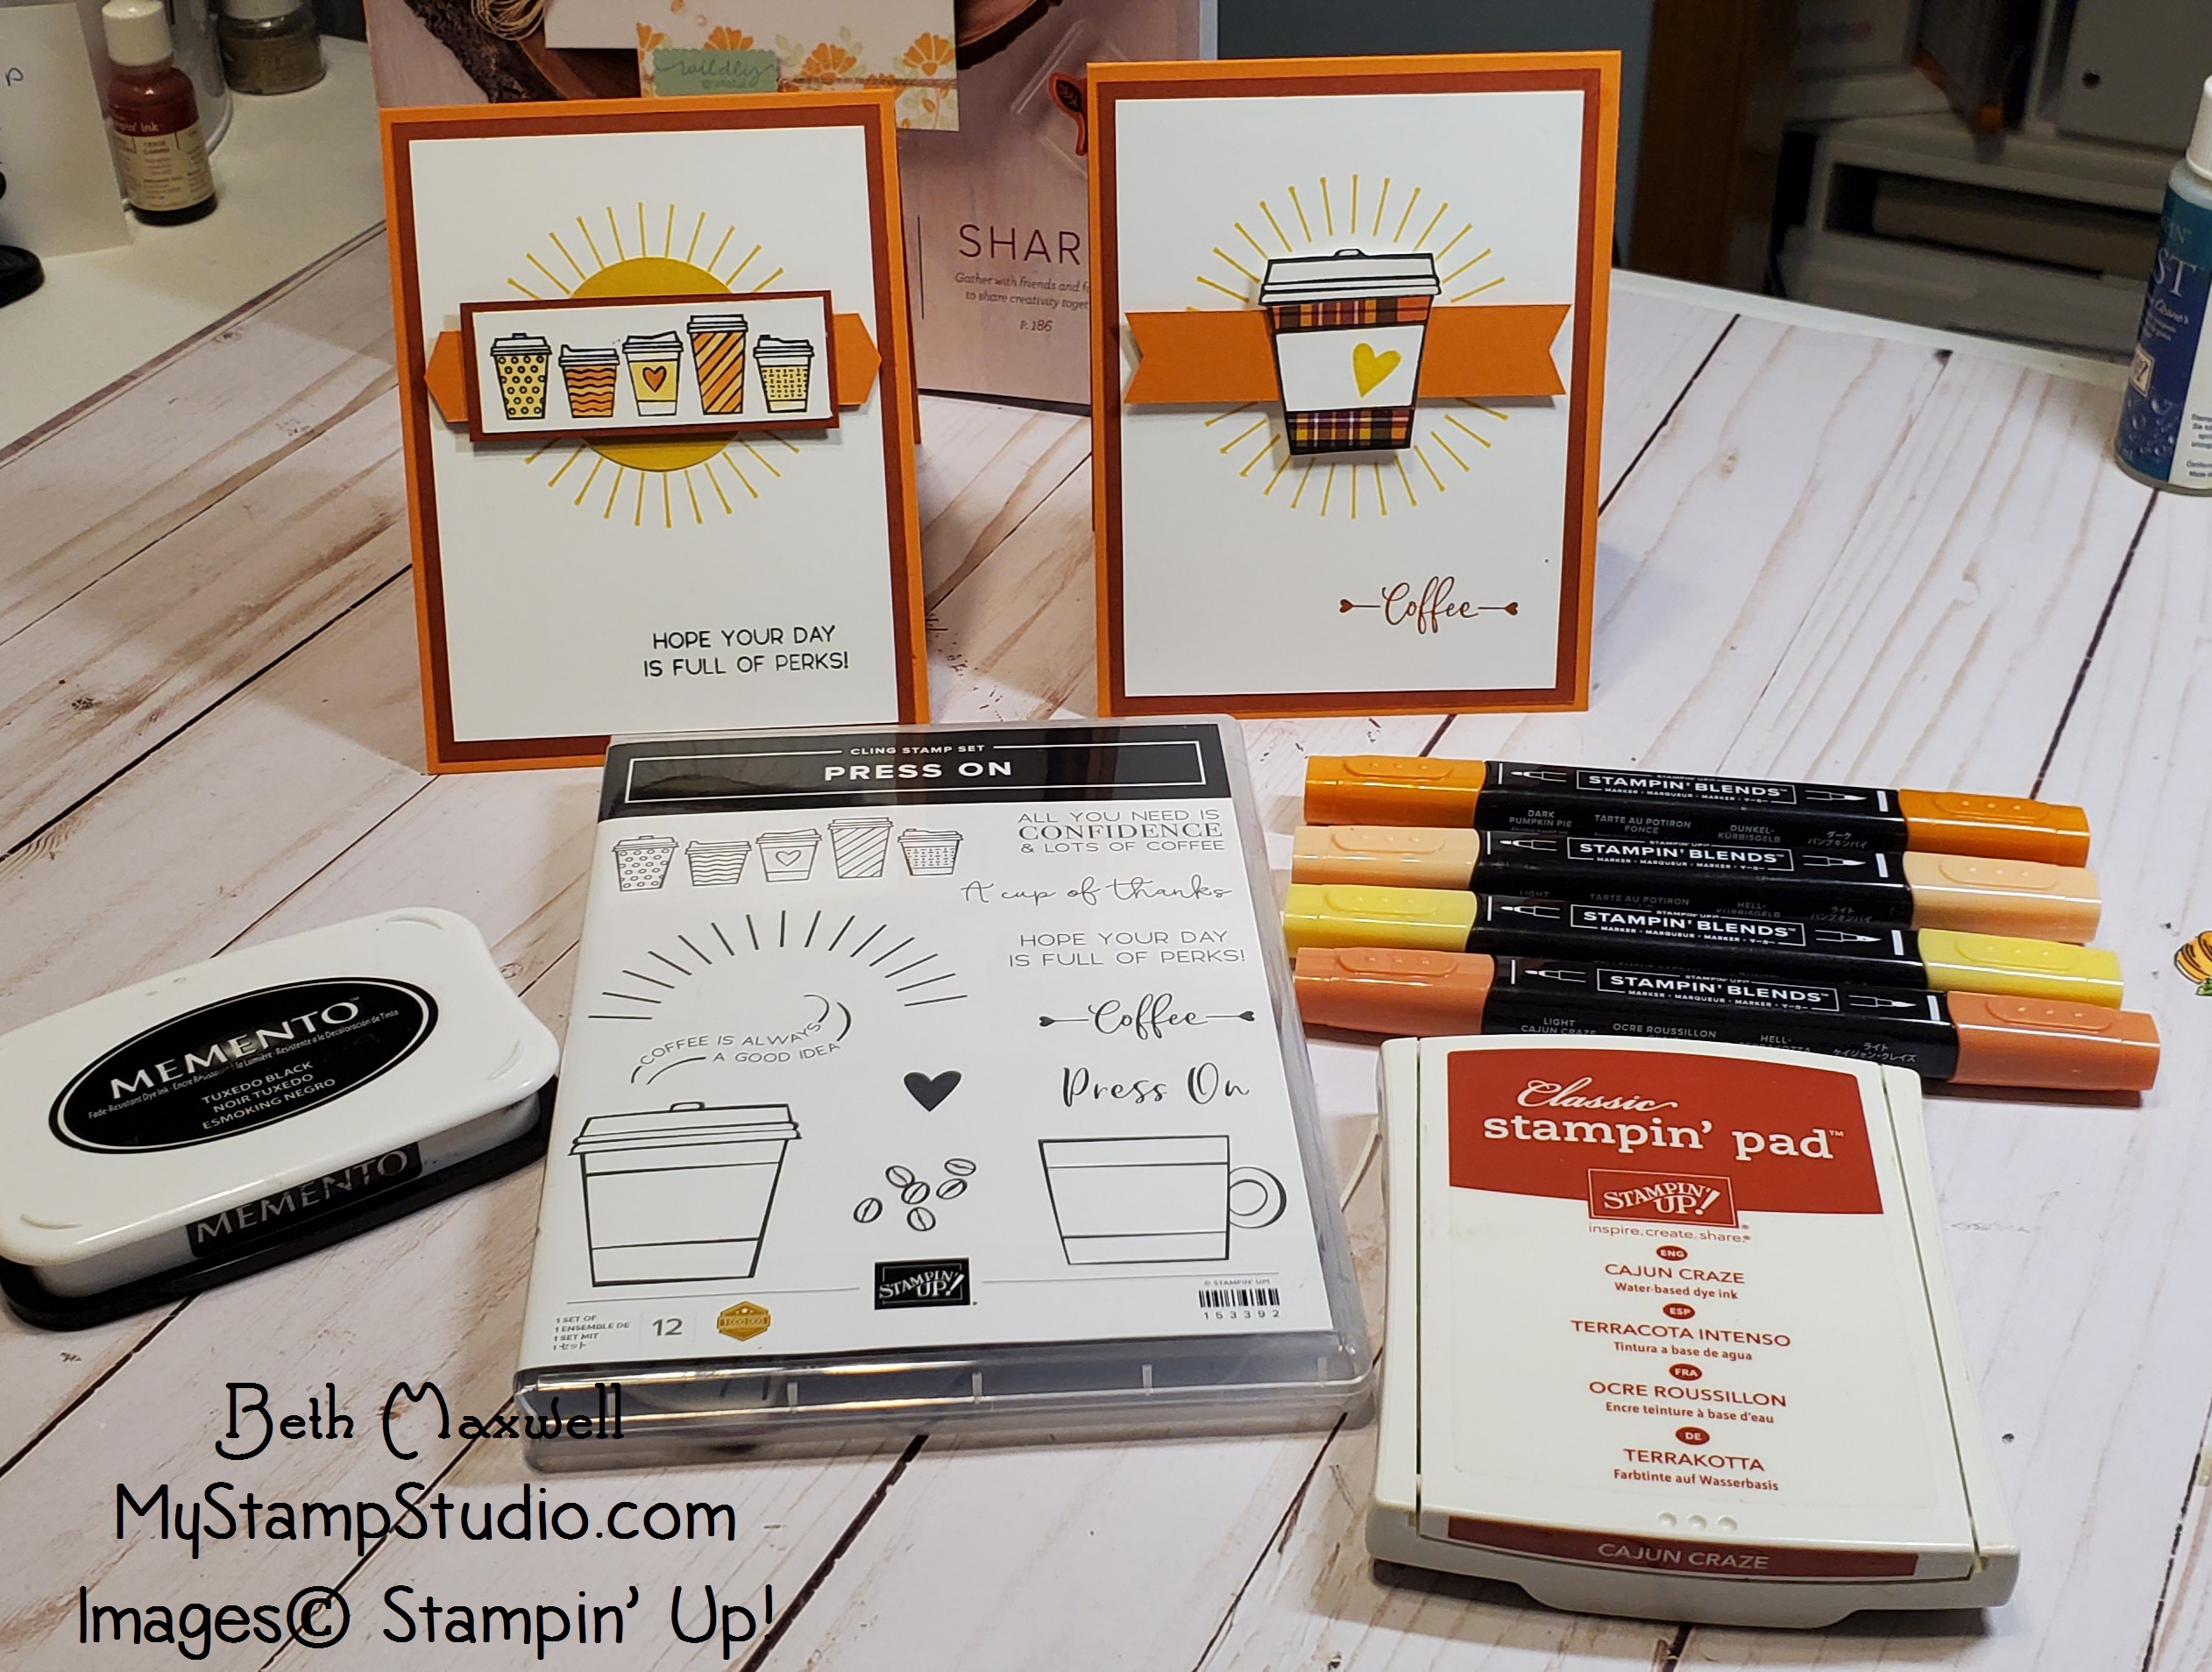
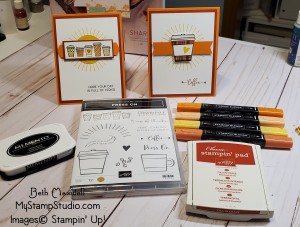
I just love the new Press On Stamp set featured in the August- December Mini catalog. Who doesn’t love coffee or cocoa (well at least the smell is amazing even if you don’t like the taste.) I was playing around trying to come up with some ideas for swaps using this stamp set and these are just a few ideas. Below are the items I used to create these cards. But you can switch it up based on the colors you are drawn to or the designer papers you have on hand.
Anyone purchasing $35 or more in my online store using the host code for Sept 23-27 will receive a tutorial from me that has the instructions and a list of products for 5 different cards. To get this tutorial, simply order in my online store and then send me an email to let me know this is the tutorial you would like.
I just received the Gnome for the Holidays stamp set from Stampin’ Up!s August-December Mini catalog. At first I was not going to order it, but it is so darn cute I could not help myself. During my Live at 6:45 Facebook live event, I shared how to make this adorable card. Below are all the products I used to create this card
Card measurements are
• Feels Like Frost Designer Series Paper (2 1/2″ x 5 1/2″) • Seaside spray card stock ( 8 1/2″ x 5 1/2″ scored at 4 1/4″) • Misty Moonlight card stock (2 3/4″ x 5 1/2″, 2 1/4″ x 3 3/4″) • Whisper White card stock (2″ x 3 1/2″, 5 1/2″ x 4″)


Recent Comments