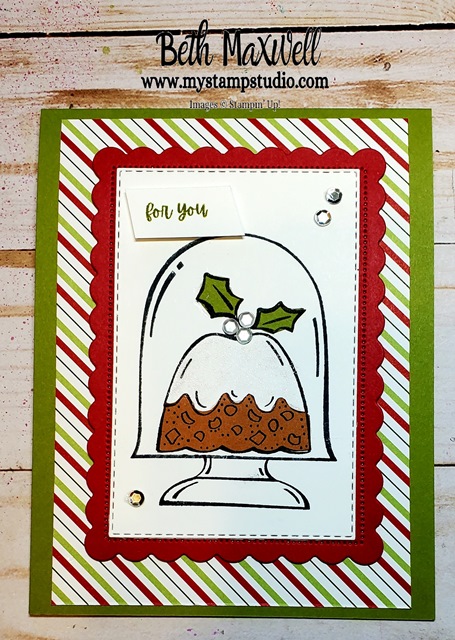
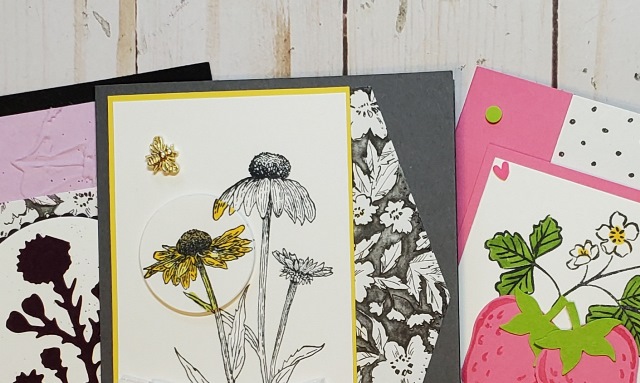
October 24th was our second Class in the Christmas Card Online Class series. It featured the Classic Cloche stamp set and coordinating dies. I have made several cards from this stamp set. I think I love the “snow globe” cloche card the best. During the Live I did also offer some alternative is you don’t have a die cut machine. I love to show how versatile stamp sets and bundles can be for all levels of stampers.
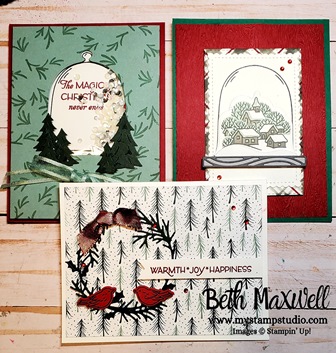
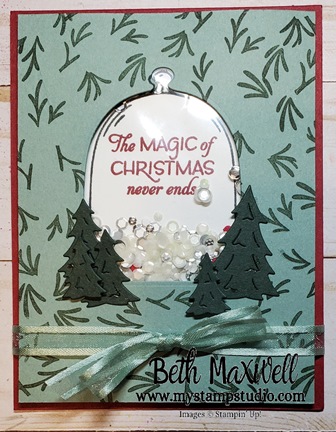
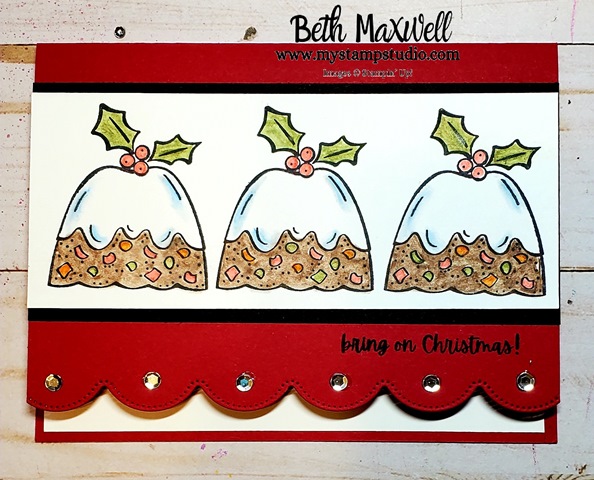
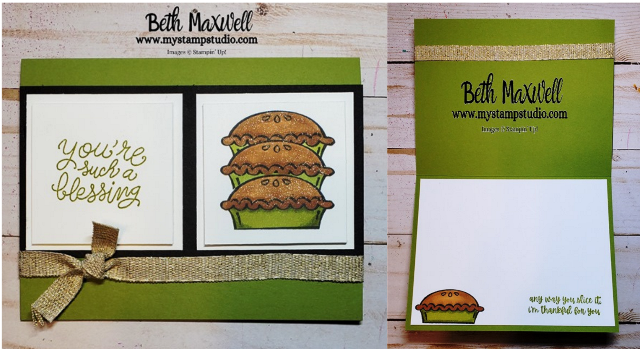
This first card is a shaker card. I really like how this turned out. I also used the same idea to create an alternate card if you don’t have the Cloche dies. But, these dies also coordinate with the Sweets & Treats stamp set from week 1 in the Christmas Card Online class series. I first stamped the Soft Succulent cardstock with Soft Succulent ink to give the card some depth. I then used the Cloche dies to die cut an opening for my shaker component. I added some Die cut trees from Evening Evergreen card stock some Soft Succulent ribbon and of course the bling is in the shaker. On the alternate card I fussy cut the cloche image and stamped a village inside. If you would like to see how I made these cards check out my facebook page and video


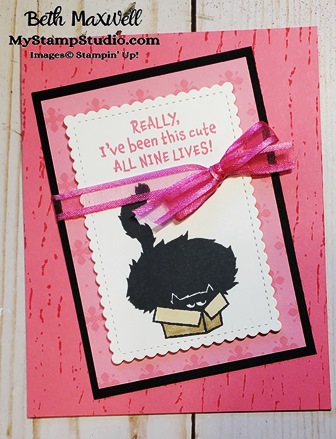
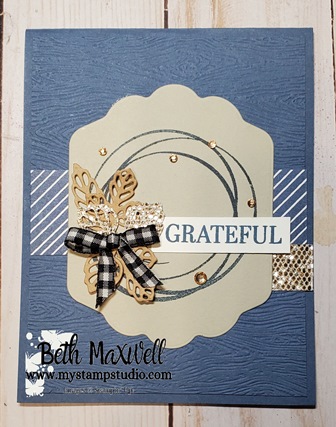
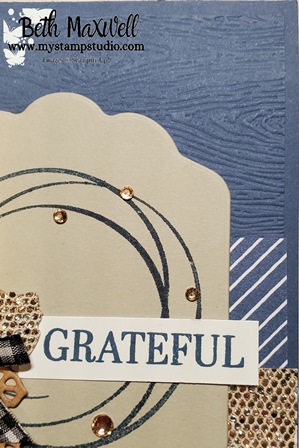
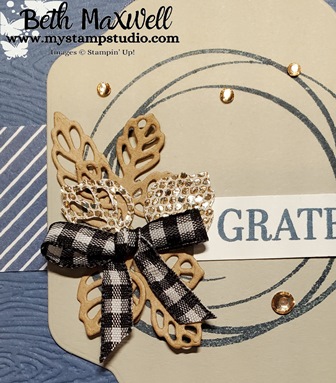
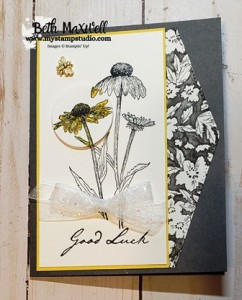
I wanted to show other ways to use this set not just as a Cloche. So I added the wreath from the Seasonal Swirls dies, and grabbed some of the Tidings of Christmas designer series paper. To finish it off I used the Red Rhinestones for a little touch of bling. The products I used are listed below and can be purchased in my Online store.
You can check out my Facebook page: My Stamp Studio- join the group and don’t miss out on the weekly online class every Thursday Night at 6:45 central.


Recent Comments