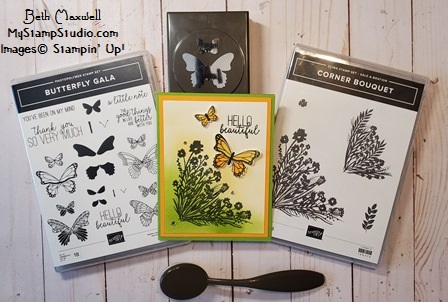
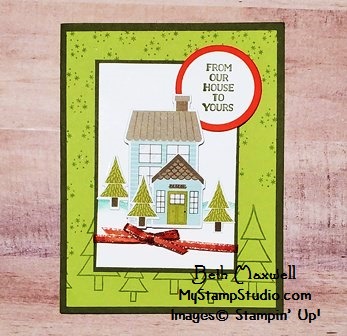
I don’t know about you , but I am done with winter. Unfortunately, we have a couple more months of it. Oh well, winters give all of us crafters more time to play. All last week I was playing around with the new Corner Bouquet Stamp Set. You can get this amazing stamp set for FREE, yes free. Any time you spend $50 in my online store you can pick from several different stamp sets and Designer paper and get it for free. This is one of the best times in the Stampin’ Up year, I mean who can pass up free right? In my Hump Day Lunch break facebook live on January 6, 2021, I shared this awesome and easy card.
The fun part of this card was using the new blending brushes. The brush gives that added color and softness to the card and it is so easy to use and clean. If you haven’t already tried one out, you need to. Adding the rhinestones to this card gave it the finishing touches it needed. The Corner Bouquet stamp set is so easy to make cards with. You can leave it a one color or use markers to add more color.

- Granny Apple Green Card stock: 8 1/2″ x 5 1/2″, scored at 4 1/4″
- Mango Melody card stock: 5 1/4″ x 4″
- Basic White card stock: 5″ x 3 3/4″
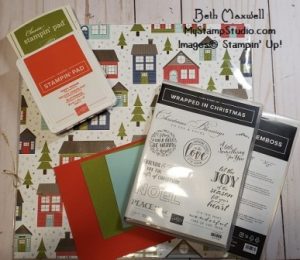
Supply List: You can click on any of the items below to order from my Online Stampin’ Up! store. Or if you want it all click on the Add All to Cart button.

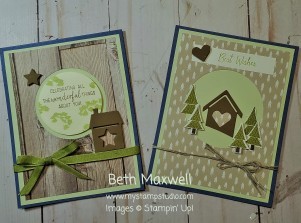
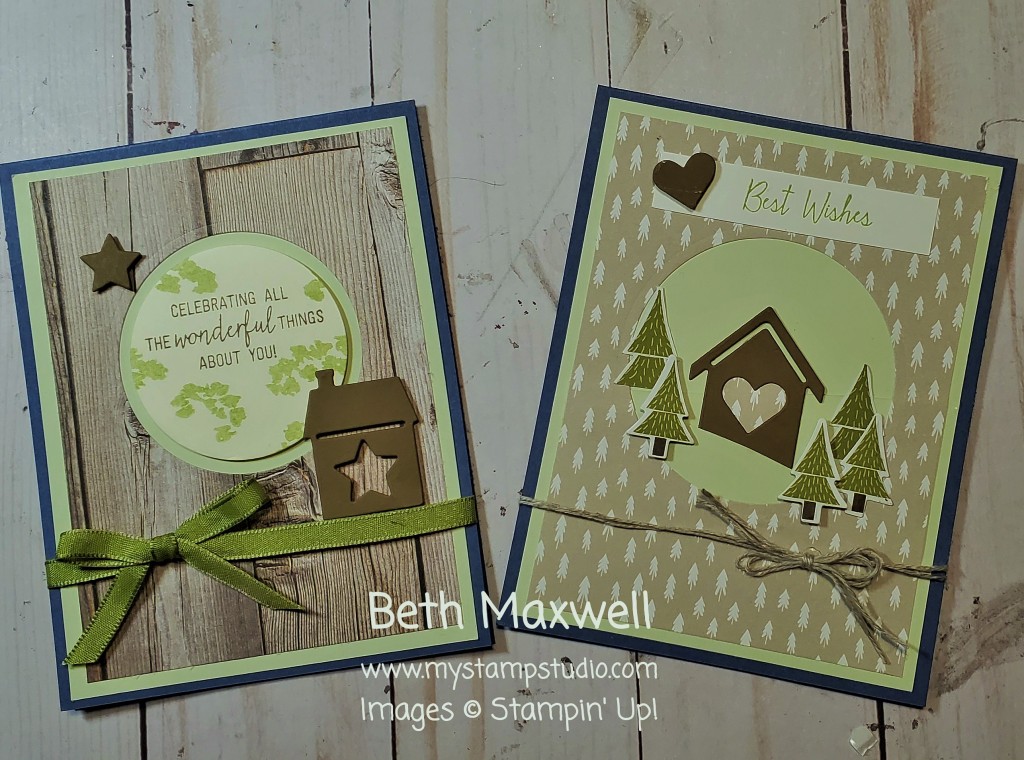
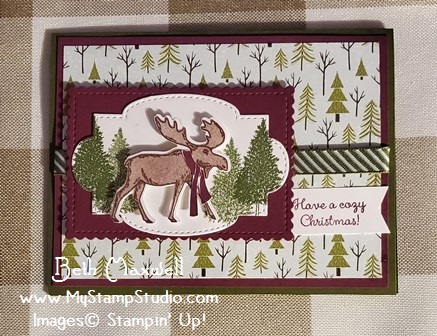
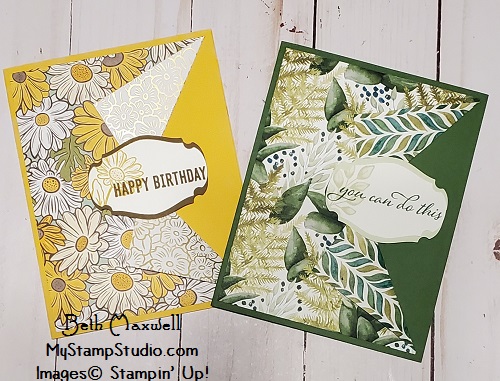
Here is another card I made using the Corner Bouquet. It was quick, easy and used just a few products. Someone asked me about making some quick sympathy cards on short notice and this is one I came up on the fly. I used use Basic White and Early Espresso Card stock, Early Espresso ink and added in a die cut shape with a little bit of Faux Suede ribbon. If you don’t have ribbon, use a strip of card stock, it adds the same flair.

I stepped up that same card by adding some Designer Paper from the SALE a-bration products called Paper Blooms. I love this paper and can’t wait to make more cards and projects with it. For this card, I used Sahara Sand ink on Basic white cardstock and then used the same image on the designer paper using Mossy Meadow ink. This split card is super easy to make. I do like using dies and punches when I can on my cards, but with this layout you don’t need to.
Tomorrow I will be posting how to use this same stamp set with Stampin’ Write Markers to give your cards a little extra color. See you then!


Recent Comments