Beth Maxwell, Independent Stampin' Up! demonstrator

Category: Videos

Hump Day Lunch Break- Sweet Peas

Each Wednesday I feature a Hump Day Lunch Break, well sometimes it’s a dinner break. This week I featured the Sweet Peas Stamp set, create cute projects to celebrate new babies, show appreciation, or wish p-pea birthday. Plus this is a great set to color with your favorite coloring tools. I decided on using Watercolor pencils. I forget how fun it is to use my water color pencils, water painters and fluid 100 paper. This stamp set is soooo sweet I just could not resist playing around with it. In fact, I have been having so much fun with it that I will be featuring it for the August Studio Club. Make sure you sign up for my email so you can be the first to now when new classes, club, event and specials are offered. But without further ado, here is our Hump Day spotlight card.

Choose your favorite coloring tool and technique to add color to the cute images. The smaller ones easily fit on a die-cut shape or labels. I used the Nested Essentials dies here. When you pair the image and greeting, you end up with an absolute cuteness overload!

Measurements

  • Peach Pie Card Base: 5-1/2″ x 8-1/2″
  • Granny Apple Green cardstock: 3-1/8″ x 5-1/2″
  • Lilly Pond Paper: 3″ x 5-1/2″
  • Lemon Lime Twist cardstock: 4-1/2″ x 2-1/4″
  • Fluid 100 paper: 4″ x 2-3/4″
  • see below for supplies used and available in my Online store.
30 Day Endeavor: Day 2

Welcome to Day 2 of my 30 Day Endeavor to do Lives and Videos on Social Media. My goal is to inspire and share cardmaking and paper crafting with you. Make sure to come back each day to see what’s new!

Stay Connected and keep up to date with events, specials and much more by joining my email list, following my Facebook page, Subscribing to my YouTube Channel.

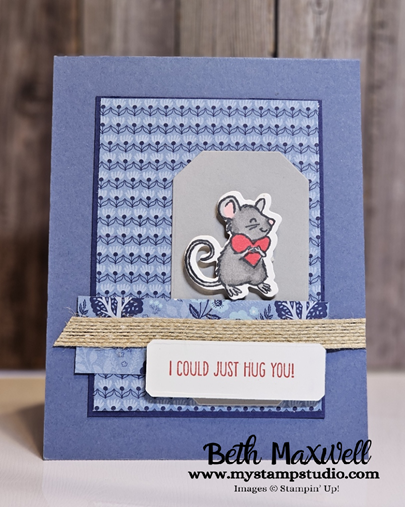
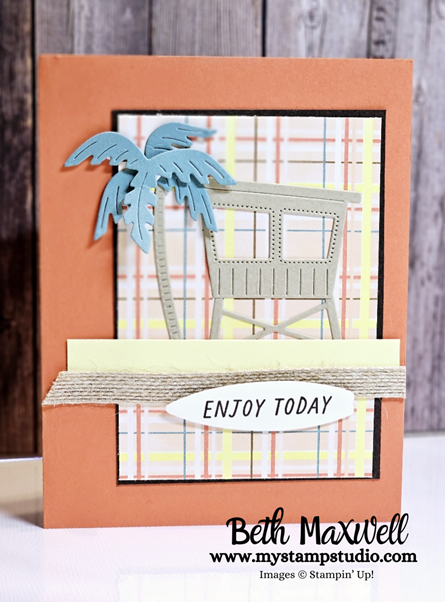
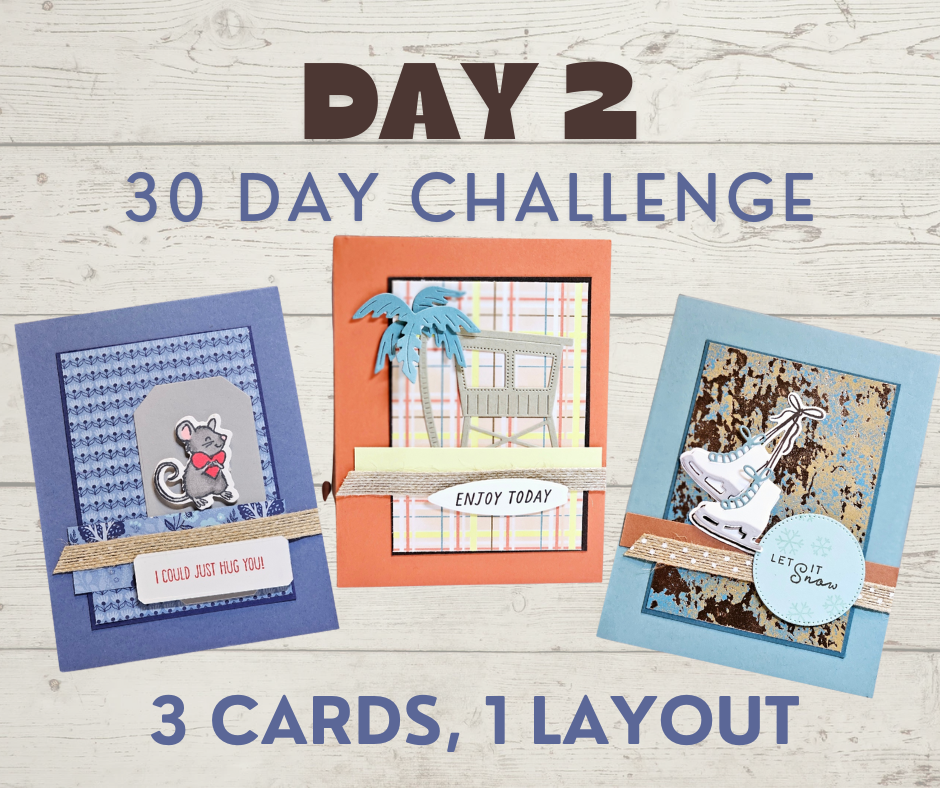
Today’s adventure in Card making featured making 3 different cards using 1 card layout. I love being able to use the same layout multiple times and have each card be unique just by changing up the Stamp sets and Papers. Which is your favorite? leave a comment below I would love to know.

It all started with a card base, the a 3-1/8″ x 4-3/8″ cardstock layer, a 3″ x 4-1/4″ piece of Designer paper. Add a focal element, stamped or die cut image and a sentiment. Check out the YouTube video below.

Hump Day Lunch Break – Set Sail with Rays of Light

Today’s Hump Day Lunch Break featured the Let’s Set Sail Stamp Set and coordinating punch along with the Rays of Light Background Stamp. A quick card to show how amazing background stamps can really add depth and focus to a card. Add a few extras and voila a card fit to give!

Measurements

  • Balmy Blue Cardstock: 8-1/2″ x 5-1/2″, 4″ x 2-1/2″
  • Basic White: 5″ x 5-1/2″, 4″ x 5-1/4″ (inside of card) and scraps for stamped pieces and punched items

I love using the Stamparatus for stamping large background stamps. Watch the video below for some tips! Also in the video I give some tips on placing your images so you can punch them out without wasting a lot of paper and time. I do also love punches in fact when I first started paper crafting, I bought and entire Alphabet punch set so I could use it for scrapbooking. Boy, have things come a long way since then. I love even the simplest shaped punches like the Cloud punch I used on today’s card.

Grab a coup of Tea or Coffee or whatever your favorite beverage is and watch today’s Live on YouTube below or hop over to my Facebook Page: My Stamp Studio

All Supplies used today can be purchased in the US from my Online Store by clicking the button below or by clicking any of the product images below. Make sure to use the June Host code when placing your order UVTHMGEE

I’m Bringing Birthdays Back Online Card Class Week 3

This is the third class in the I’m Bringing Birthdays Back Online Card Class. Everyone loves getting something other than junk mail or bills right? So why not send a handmade card.

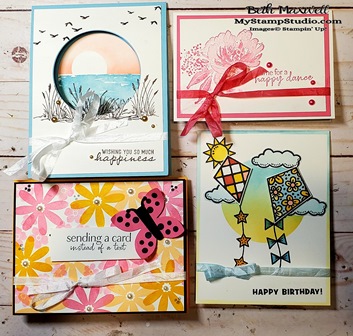
This class series is designed with that in mind. Each week will feature four cards using the same four sets (and maybe another set or two for fun) The featured Stamp Sets are:

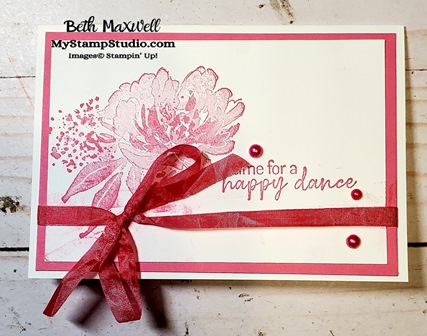
  • Flowing Flowers
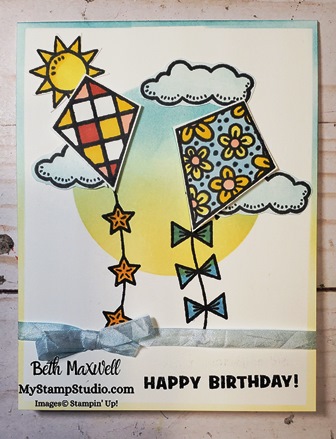
  • Kite Delight
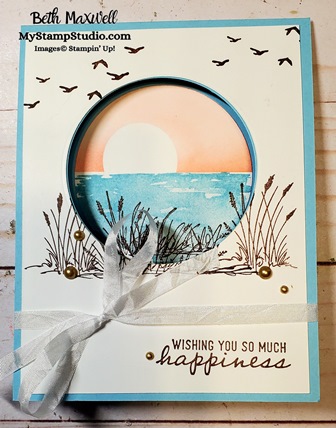
  • On the Horizon
  • Hello Ladybug

This Weeks HOST CODE:  JY6YBMTY

Good from 2/3/22- 2/7/22

The Live classes are on my Facebook Business Page: MY STAMP STUDIO. and you can catch the replay if you miss the live class. Watch my I’m Bringing Birthdays Back Online card class – Live on Facebook and the replay on You Tube. Make sure to Follow My Stamp Studio on Facebook and join the My Stamp Studio Group to get all the notifications of the Live Events. The replay will be posted to You Tube after the class event. This is an Online class and class kits will be available with a purchase. I will be sharing the ordering specials each class. For more information click here.

Facebook Live Thursdays 6:45 pm Central

  1. January 6, 2022
  2. January 20, 2022
  3. February 3, 2022
  4. February 24, 2022

Watch the Facebook Live Replay

Not on Facebook? You can check it out on You Tube and make sure to subscribe to my YouTube Channel so you can see other videos I post.

Flowing Flowers Birthday Note Card
Kite Delight Birthday Card
On the Horizon Window card
Hello Ladybug Bundle Card

Live at 6:45: In Bloom Online Class – April 1, 2021

Each Week I do a facebook live to feature a different product and design projects using those items and then do a Facebook Live. This week I’ve chosen the In Bloom Bundle. This was a really popular bundle during Sale-a-bration when Stampin’ Up offered coordinating papers. But I wanted to show you ways to use this set without the designer paper. (Ok I used a little bit)!

If you have never joined my Facebook live at My Stamp Studio, I go live every Thursday night at 6:45pm central, (If I am not live, there will be a video), with at lease three projects. Everyone is Welcome to join. Hop over to my Page: My Stamp Studio Join the My Stamp Studio Group

If you can not make it to the live, I will be posting the recordings here and on My YouTube channel.


This first card started with just using stamps, ok I slipped in a die cut from the Stitched So Sweetly Dies, I couldn’t help myself. My base is Granny Apple Green. The next layer is Basic Gray- it needed a little something so I grabbed the Textured Essential Stamp set and stamped using Basic Gray ink. The flowers were stamped with our Stampin’ Up! bright colors: Coastal Cabana, Granny Apple Green and Magenta Madness. I added a splash of sheer pool party ribbon and TADA!

The second card I focused more on the Pierced Blooms dies and kept the card pretty, clean and somewhat monochromatic. I had to add a little splash of color and of course add designer paper for the envelope flap. The Purple Posy cardstock is no longer orderable so is not listed below.

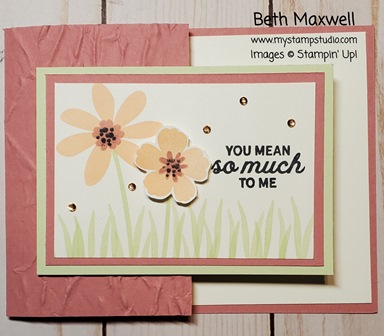
This third card, is a fun fold. I love making fun fold cards. I was inspired by Sherry Roth that share this card. I changed it up by using switching around the card layer colors and using the Old World Embossing folder. The Old World embossing folder is retiring along with the Rococo Rose In color.

***Remember, if you put in an order ($35 minimum) by  April 5th, 2021 at midnight, using Host Code ZFNRQGPH……. I’ll send you all three make and takes for free.

You will need the stamps, ink and adhesive

But, your order MUST be in by Monday at midnight!!

World Card Making Day Event- Stamp A-Long Saturday

I will be hosting a live Event on my Facebook Business page to celebrate World Card Making Day. This will be the first of a series of Events I will be hosting the first Saturday of each month. It will be called Stamp A-Long Saturday. I will be demonstrating a project that you can stamp along with me during the live, you can ask questions, share ideas and comment throughout the live. The week prior to the event, I will post the supplies you will need. This list will be somewhat generic so you can use the supplies you have in your stash. But as always if you find something you would like that I am showing and you don’t already have a demonstrator you can shop on my online store.

Join the Event: Beth Maxwell’s My Stamp Studio facebook page.

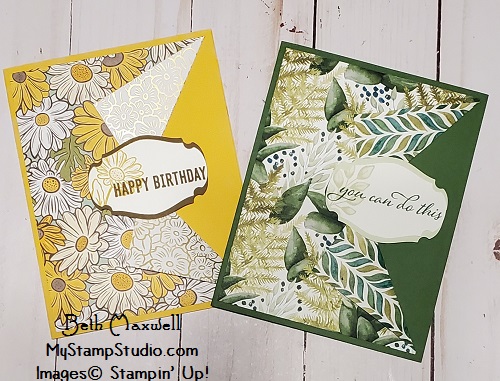
These are samples of what the Designer Paper Fun Flap card will look like. However for the live, I will feature other products.

This Stamp A-long will show you how you can make 6 easy Designer Paper Fun flap cards. I will be sharing some big announcements so make sure to join or watch the live later! I can hardly wait to share this with all of you!!!!!!I will actually be making CHRISTMAS GREETING cards using the supplies show in the photo. If you would like to stamp along with me on Saturday, here is what you will need to make 6 cards, so grab whatever is in your stash. The supplies I will be using are pictured here:

  • 1 – 12 x 12 double sided designer paper
  • 3 – 81/2″ x 11″ card stock that coordinates with your designer paper choice
  • 2 – 8 1/2″ x 11″ white or vanilla cardstock (whichever matches your designer paper)Stamp set with sentiments and images (or a set of each
  • Ink Pad – coordinates with your designer paper choice
  • 6- envelopes (slightly larger than 5 1/2″ x 4 1/4″ which is the finished card size)
  • Punch or Die that will fit your selected sentiment.
  • Adhesive
  • Trimmer and scoring tool.

Let me know if you have any questions before, during or after live. I will try to answer as soon as I can. Please share this event with friends and family, create a watch party, and I would so appreciate if you would LIKE and COMMENT on the posts/event.

© 2025 My Stamp Studio

Theme by Anders NorenUp ↑