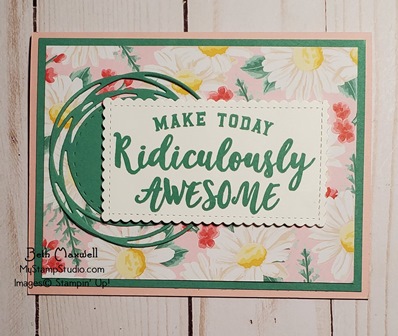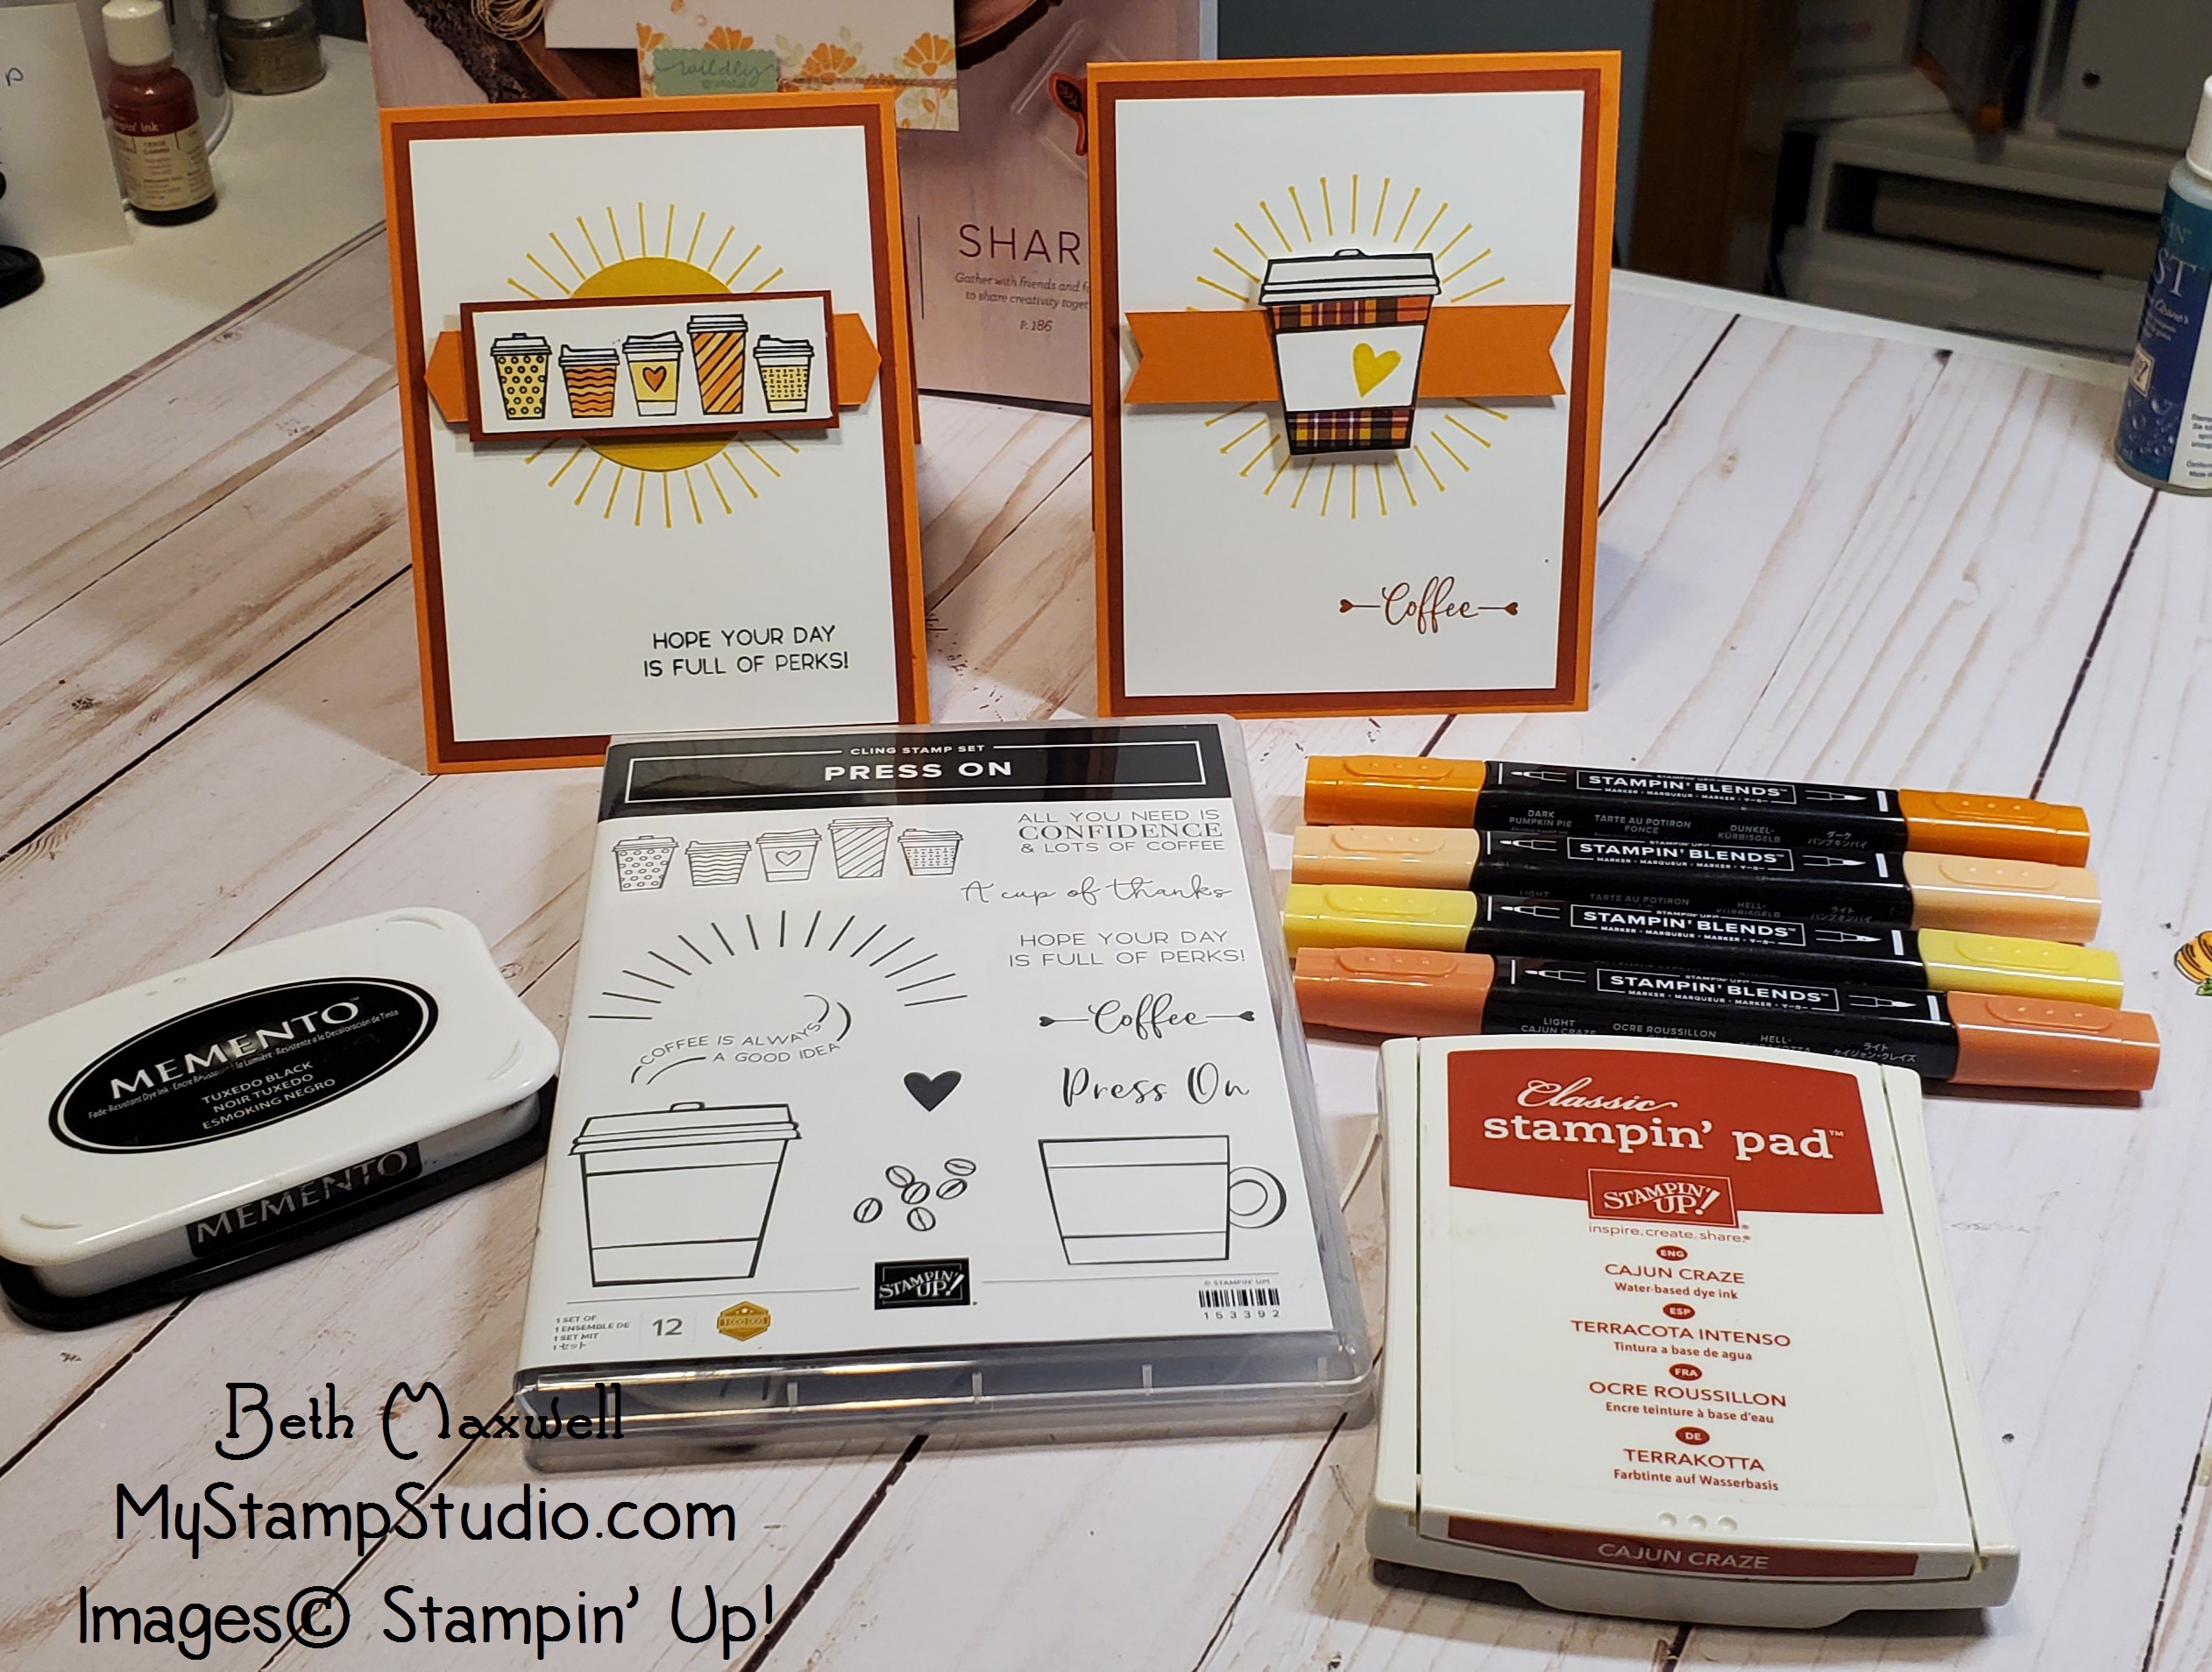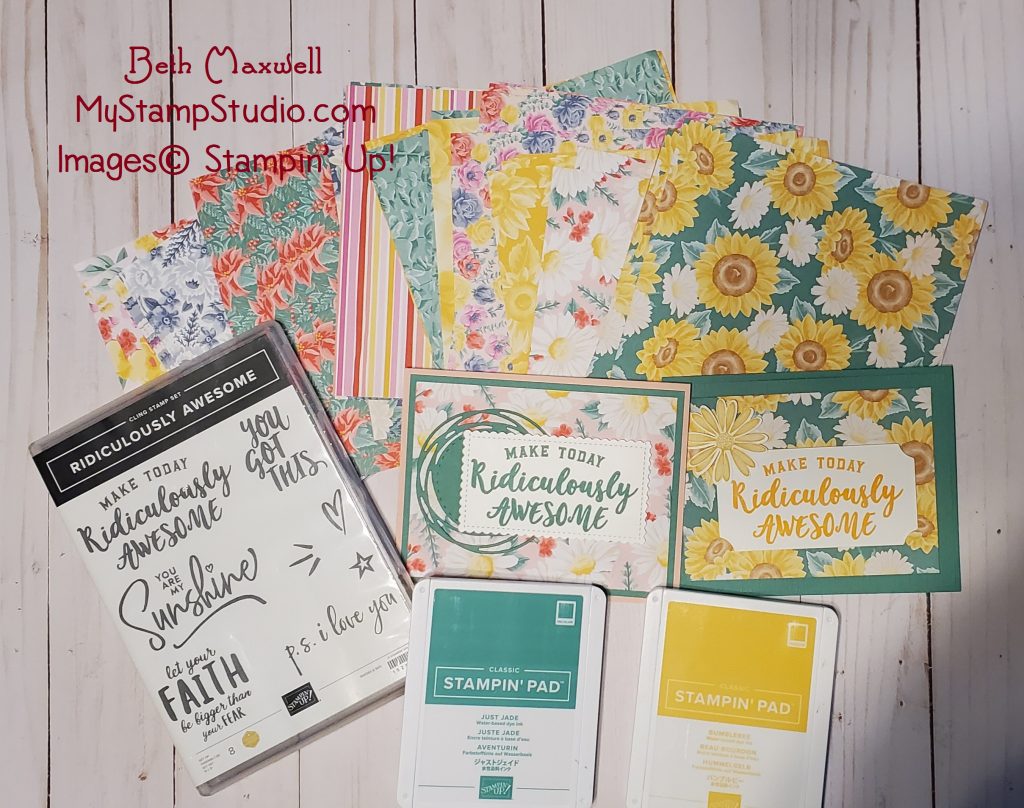
I just received the Gnome for the Holidays stamp set from Stampin’ Up!s August-December Mini catalog. At first I was not going to order it, but it is so darn cute I could not help myself. During my Live at 6:45 Facebook live event, I shared how to make this adorable card. Below are all the products I used to create this card
Card measurements are
• Feels Like Frost Designer Series Paper (2 1/2″ x 5 1/2″) • Seaside spray card stock ( 8 1/2″ x 5 1/2″ scored at 4 1/4″) • Misty Moonlight card stock (2 3/4″ x 5 1/2″, 2 1/4″ x 3 3/4″) • Whisper White card stock (2″ x 3 1/2″, 5 1/2″ x 4″)
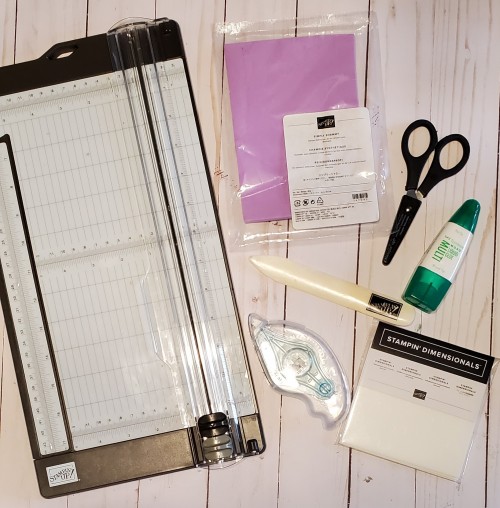
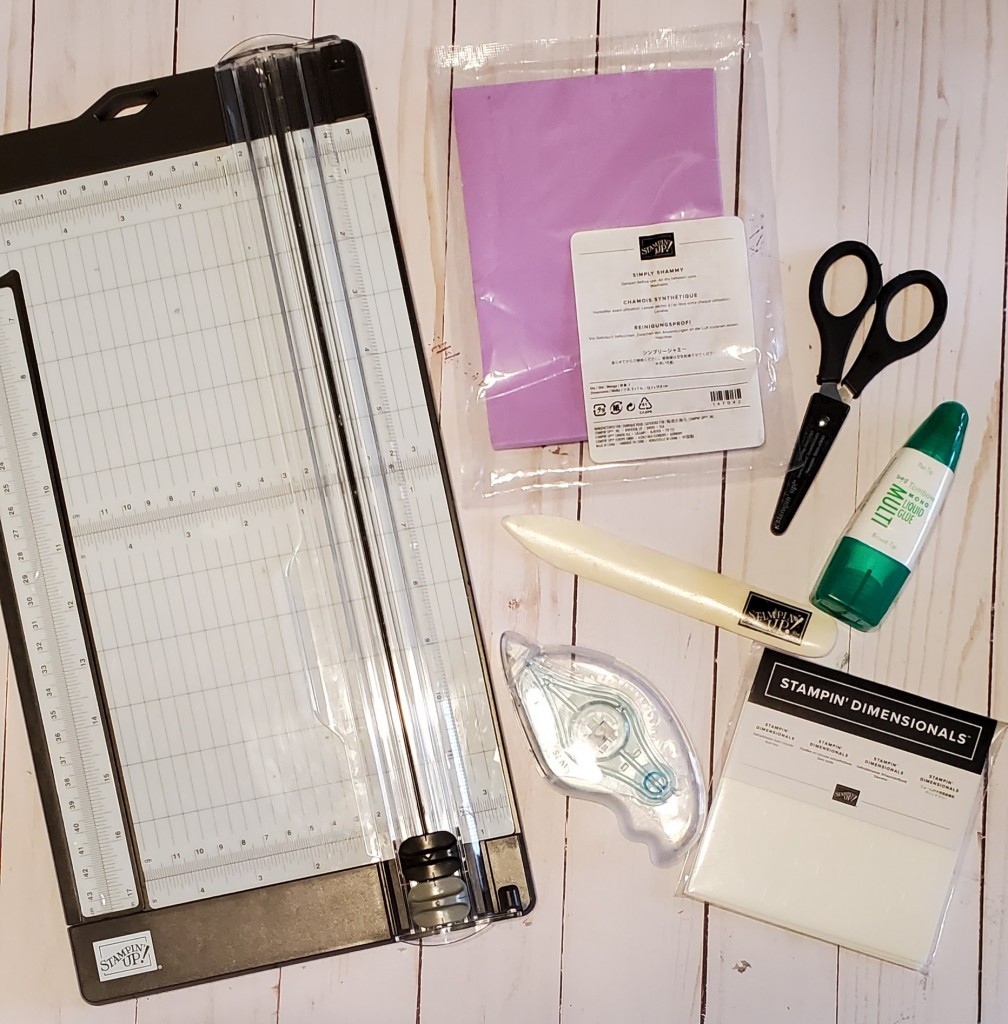
One of the most common questions I get is “what tools do I need to start Stamping and Paper Crafting?”
Well here is my answer: Start small with some basic tools such as a Trimmer, Snips, Bone folder, Shammy (a way to clean stamps), and adhesive. You will also need a clear block to use with cling or photopolymer stamp sets. I recommend the “D” block and then add more as you need based on the stamps sets you purchase. All of the stamps in the Stampin’ Up! catalog
Stampin’ Up! has now made the new standard Stampin’ Cut and Emboss Machine available to order a of September 1, 2020. I am so excited. I have been using this for about an month now and love it. I am excited that you will be able to now order one of your own. It comes with a base plate, 2 cutting plates and an emboss plate that works specifically with the 3D embossing folders.
Today’s card features the Painted Poppies stamp set. I wanted to show you cards you can make using just the stamp set. This was a quick an easy card and used very few supplies: Stamp, Ink, Paper (and some ribbon- I just love ribbon).
I started with the card base and randomly stamped one of the poppy images using Poppy Parade ink to achieve a tone on tone effect for the card base. I then went to create the card front by stamping the larger poppy using Memento Tuxedo Black ink just slightly off center on one of the Whisper white pieces. I then stamped the stem in black as well but did not include the small flower that was part of that stamp. Using Poppy parade classic ink I stamped the background image stamp over the stamped poppy. I then took the smaller splotch image, inked it in Poppy Parade and stamped this over the large poppy flower and the poppy flower bud. Using Old Olive classic ink, I stamped the small splotch over the stem and leaf. Using the Sale-A-Bration Sending You Thoughts stamp set I added Happy Birthday. At that point I was ready to layer the front of the card. I centered the stamped whisper white piece on the basic black card stock. I then placed this just slightly to the left of the card base. To finish off the front, I add a bow using the whisper white crinkled seam binding.
To make the inside of the card, I used the field of poppies
image and stamped a small portion on the lower left of the second piece of
whisper white card stock. Using the
small splotch image I added poppy parade ink and old olive ink. I stamped the “Another sensational year of
you” sentiment from the Sale-A-Bration Sending You Thoughts stamp set. I adhered
this to the inside of the card base.
Today’s Post features cards made using the Painted Poppies, Peaceful Moments and Sending You Thoughts Stamp Sets. I couldn’t wait to use these sets. Painted Poppies, Peaceful Moments are from the January-June Mini catalog and Sending You Thoughts is a free Sale-A-Bration set you can earn. See below for the list of products used in the various card. I will be posting additional information on each of these cards in the next few days so come back again for more!
Product List – If you don’t already have a demonstrator, I would love to become your demonstrator. Click on any of the items below to shop in my Online Store. If you would like to receive a catalog from me, please go to my contact page and send me a message with your address, please note I can only send to addresses in the United States.
Create your card base. Stamp the larger leaf in pool party ink on
the pool party card base
Use the speckle image from the Waterfront stamp
set and randomly stamp speckles in pool party on the pool party card base.
Use the large leaf and stamp on the whisper
white strip using Old Olive, you will want to stamp off once before you stamp
on the whisper white strip of card stock so you have a slightly lighter
image.
Stamp the smaller leaf in Old Olive – stamp off
once before stamping onto the whisper white strip.
Stamp the speckle image using Memento Black ink-
you will want to stamp off at least once and then very lightly stamp on the
whisper white strip. Adhere this strip to the Old Olive strip and then adhere
to the card base.
Stamp the “You are the greatest” greeting on a
scrap piece of Soft Seafoam in Old Olive ink.
Punch this out using the Story Label punch. If you don’t have that punch you can use an
oval or cut the card stock into a rectangle.
Adhere this to the lower right of your card.
Stamp the flower using Mango Melody on to a scrap
of whisper white. Stamp multiple times to get the varying shades of mango.
Next you will be die cutting the flowers you
just stamped using the flower in the coordinating die set.
Die cut 3 leaves in Old Olive. And lastly punch or die cut a 2 ½”
circle. If you don’t have a Big Shot or
the dies, no worries, just stamp the leaves on to Old Olive card stock and then
fussy cut the flowers and leaves. If you
do not have a circle punch or die, then cut a 2 ½” x 2 ½” square out of pool
party card stock.
Stamp the speckle image using pool party ink on
the 2 ½” circle (or square). Adhere this to the upper portion of the card just
slightly off center.
Adhere the leaves and then using dimensionals
adhere the flowers on top of the leaves.
Stamp a leaf (or flower) on the 5 ¼” x 4” piece
of whisper white card stock. Adhere this
to the inside of your card. Stamp this
image to the lower left side of you envelope as well so you do not have a naked
envelope.
Recent Comments