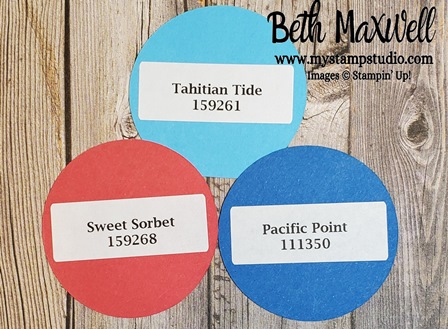
What day is it? It’s Hump Day and you know what that means, a little crafting fun during lunch. Today featured some products that are currently available as part of the Seasonal Sale. November 15-18th you can get products from 10%-20% off. You can check out the list below and shop my Online store using host code 4E6HW6ES (use the button below to jump to my Stampin’ Up Online Store)
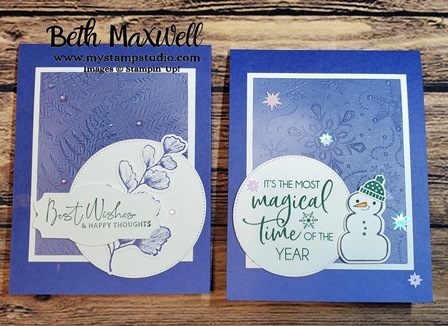
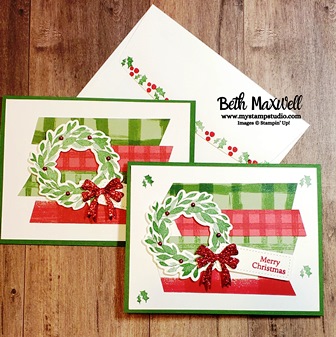
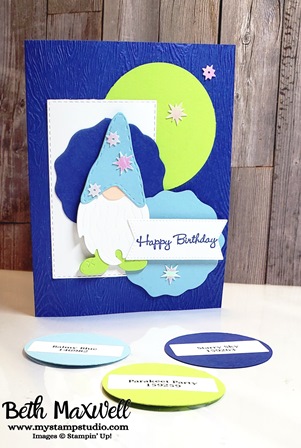
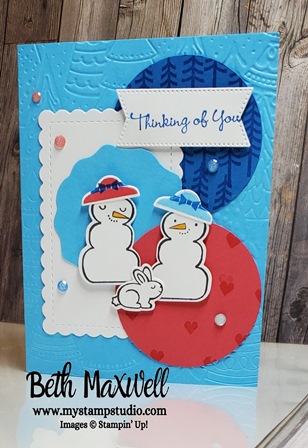
Today’s Hump Day is a Two for One special. Two different stamp sets and one card layout. I love to use one card layout or “sketch” to make different cards. Even using the same supplies, you can just swap out a stamp set and embellishments and make a whole different card. During Lunch Break, I like to share quick and easy card ideas with you to inspire you to get stamping! All the supplies used in the video today are listed below and are available at the time of the video in my Online Store. Please use Host Code 4E6HW6ES when placing an order from Nov 15-Nov 18. This helps me be able to bring you new videos with new products!
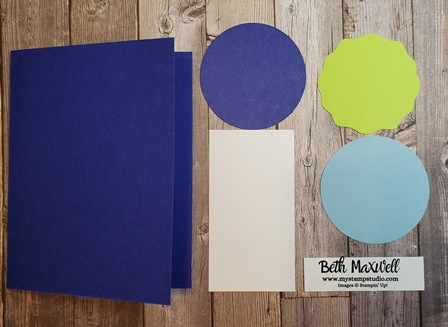
Measurements
- Starry Sky Cardstock 4-1/4″ x 11″
- Basic White Cardstock 3-1/2″ x 4-1/4″
- Sun Prints Designer Series Paper 3-1/4″ x 4″


Recent Comments