Who doesn’t need a little pick me up once in a while? While many of us text and email to keep in contact, I truly believe that a handmade card sent in the mail is so much more personal. Send a little surprise to someone’s mailbox. Aren’t you excited when you get something other than junk mail, bills, etc. I am always excited when I get a card- what about you?
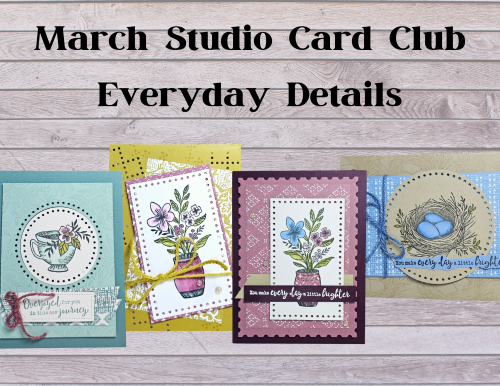
Today I am featuring the Sending Smiles Stamp set and coordinating dies from Stampin’ Up! This is also the featured set for todays Hump Day Live. In the US, this stamp set is $22 and the coordinating dies will be on sale April 9th for 40% off. WoooHoo!
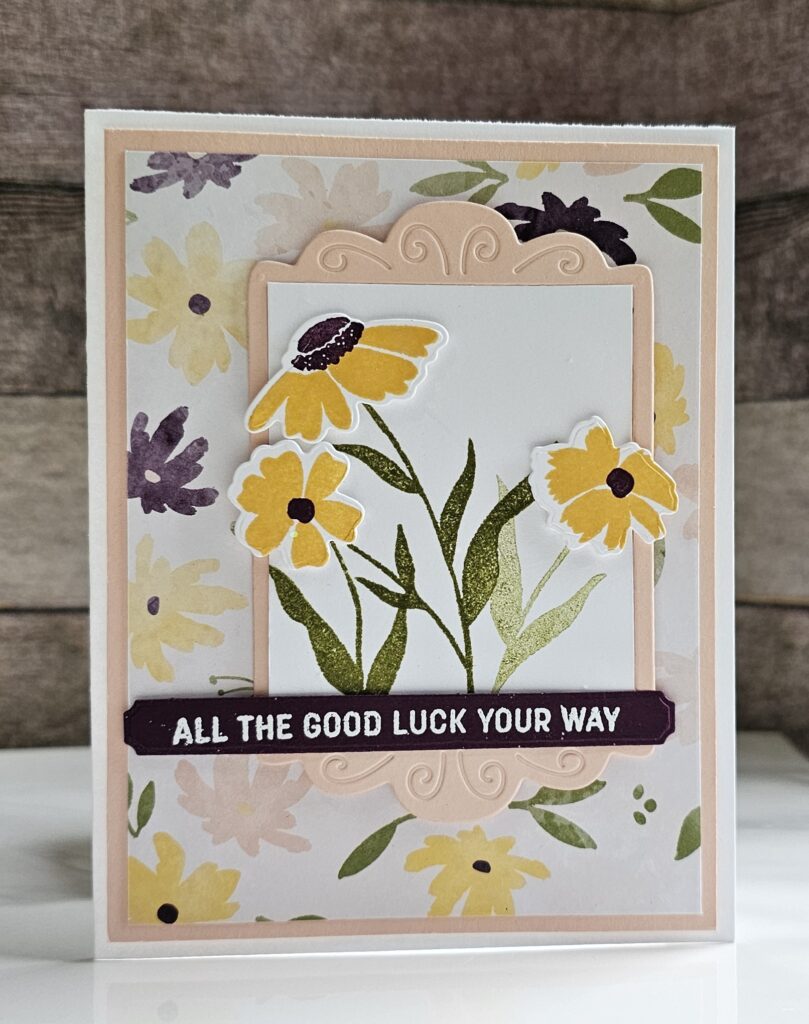
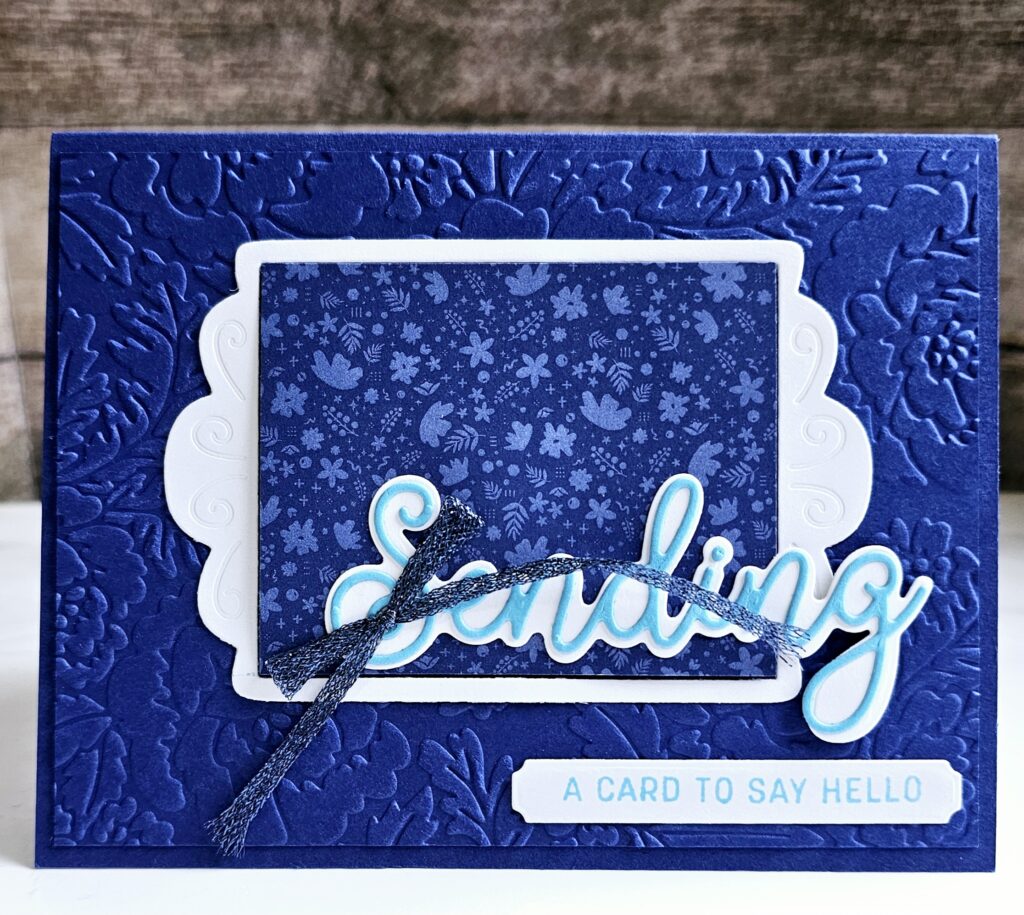
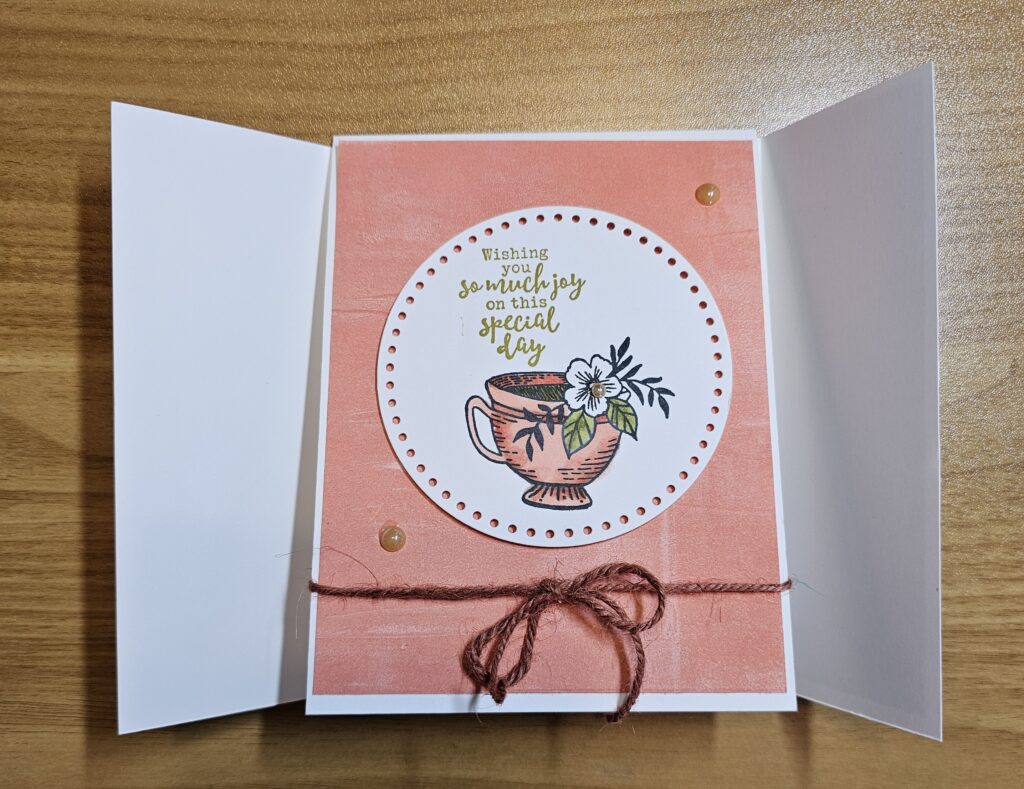
Check out these cards!

Hump Day Dinner Break Featuring Sending Smiles
Today’s cards were one designed made simple and then stepped up. I love being able to showcase a stamp set that has coordinating dies, but I know not everyone has a Cut & Emboss machine (yet). So, I like to share how you can still use the stamp set without the dies.


Recent Comments