These cute cards were made during my Hump Day Lunch Break live. They feature the Home Together Dies and Queens Anne’s Lace Stamp set. I wanted to show how you can use the dies, designer paper and stamp sets for more than just Christmas And right these dies are on sales until January 4, 2021. Watch the live on Facebook on My Stamp Studio; You can see my Hump Day Lunch break live every first and third Wednesday of the month at Noon Central time.
Today’s Hump Day lunch break was brought to you by the Home Together Dies and Trimming the Town Suite from Stampin’ Up!.
Card dimensions 4 1/2″ X 11″ SCORED AT 5 1/2 “.
Soft Sea foam card stock layer is 4″ x 5 1/4″.
Designer paper 3 3/4″ x 5″
Soft Suede for the die cut houses (Home Together dies).
The Coming Home Stamp Set and Trim the Town Dies make some amazing cards and it a sweet bundle. This collection of product found in the Aug.- Dec. 2020 Mini Catalog is really a must have set. Not only can you make some great Holiday cards but you can use it all year round. You can easily make Welcome to the Neighborhood cards, Hello, Thank you, Best Wishes and so many more by jut combining it with another set that has sentiments. And, can I jut tell you how much I love the Trimming the Town Designer Series paper that coordinates with the stamp set and dies. You can even use just the papers to make cards. I have a bunch of cards I made up to share with you. Once you start playing with this set your creativity will run wild.
This Stamp set and coordinating products will not only spark your creativity, it will help YOU make a DIFFERENCE!. Stampin’ Up! will be donating $3.00 from every stamp set, Bundle or Suite purchase to charities devoted to adoption, foster care and infertility. This stamp set and suite of products is only available until January 4, 2021. But don’t wait to get yours like many other products in the Aug- Dec. Mini catalog it is sure to go fast. Some of these products are featured in the Year End Close out and are great deals. Be sure to check out all the cards below.
You can easily use the dies to cut out the houses and trees from the designer series paper, or you can fussy cut them by hand. The images are easy to cut. Add some coordinating card (Early Espresso, Misty Moonlight, Old Olive, Pool Party, Poppy Parade, Whisper White
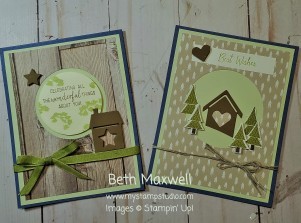
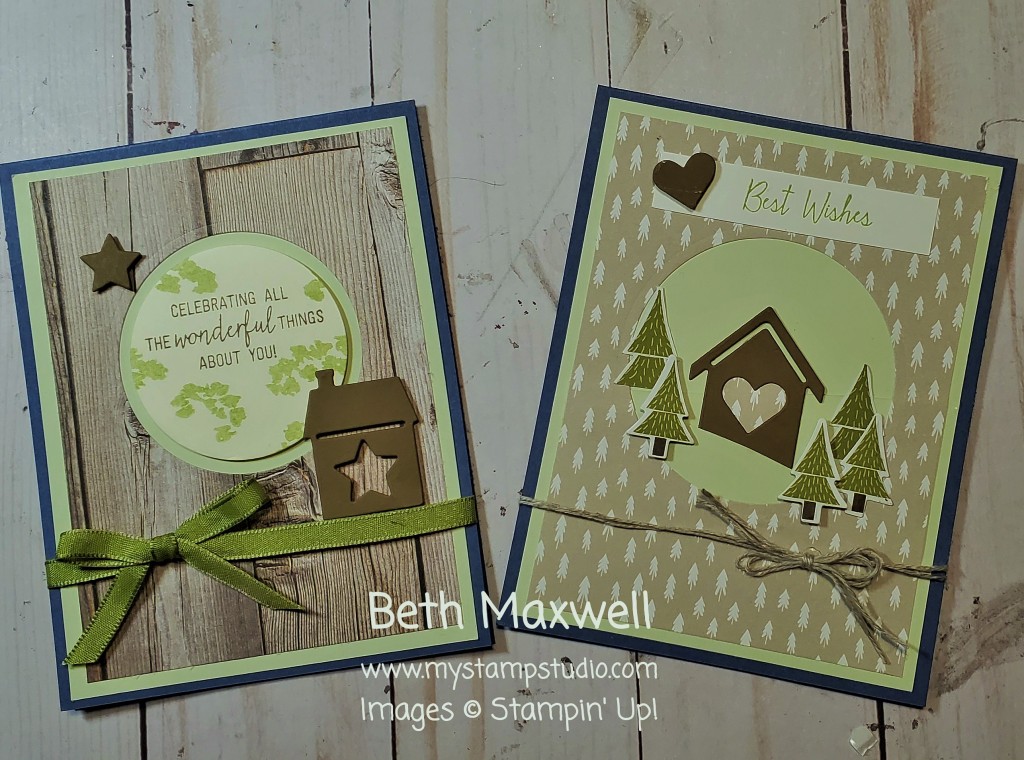
These sweet cards were made using the coordinating dies, complimented with other designer papers and stamp sets. You can see how versatile this stamp set and dies can be.
For these two cards, I paired up the Home Together Dies, Layering Circle dies and the Queen Anne’s Lace stamp set along with the In Good Taste and Classic Christmas designer papers. I hope you enjoy the samples. These two cards will be featured on my Hump Day Lunch break live on Facebook Wednesday, December 16, 2020 at Noon Central time. Click the word EVENT to get the link. You are welcome any time to check out my FB business page and like to see future lives.
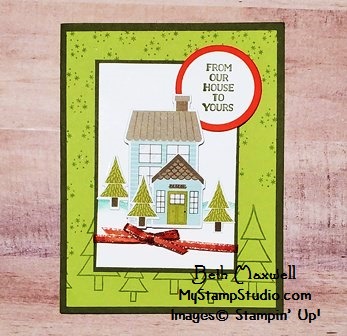
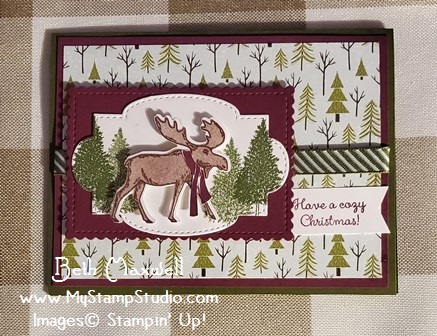
Add a little bit of nature with a little bit of whimsy and you send up with the Merry Moose Stamp set. I have been making lots of cards with this set and cannot wait to share them with you through out the week. Today’s featured card combines the Merry Moose Stamp set, Moose Punch and the Trimming the Town designer series paper. All these products can be found in the August-December 2020 Mini Catalog. These products are only available for a short amount of time, so if you like what you see please head over to my online store and order yours today. After January 4th, they will not be available.
I used a non traditional color combo on this Holiday card. It features Mossy Meadow and Rich Razzleberry. You could easily switch this up to a Thinking of You, Birthday or Thank you card simply by pulling in different sentiment from other sets. Try Itty Bitty Birthdays stamp set or Here’s a Card stamp set.
Would you like to get more use from your stamp sets? Would you like to make many cards at one time, yet be unique? I have just the solution for you. Welcome to the Three-Fer Class tutorial I am offering. From just one stamp set, punch, designer paper and card stock you can make 3 different styles of cards simply by switching how you use your designer paper and punches. I am offering this tutorial free with the purchase of Stamp Set and Punch order. See my Specials and Promotions page for details.
I will be hosting a live Event on my Facebook Business page to celebrate World Card Making Day. This will be the first of a series of Events I will be hosting the first Saturday of each month. It will be called Stamp A-Long Saturday. I will be demonstrating a project that you can stamp along with me during the live, you can ask questions, share ideas and comment throughout the live. The week prior to the event, I will post the supplies you will need. This list will be somewhat generic so you can use the supplies you have in your stash. But as always if you find something you would like that I am showing and you don’t already have a demonstrator you can shop on my online store.
These are samples of what the Designer Paper Fun Flap card will look like. However for the live, I will feature other products.
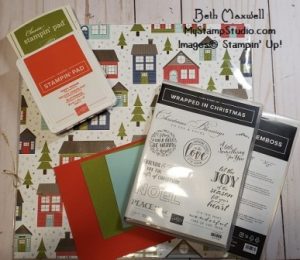
This Stamp A-long will show you how you can make 6 easy Designer Paper Fun flap cards. I will be sharing some big announcements so make sure to join or watch the live later! I can hardly wait to share this with all of you!!!!!!I will actually be making CHRISTMAS GREETING cards using the supplies show in the photo. If you would like to stamp along with me on Saturday, here is what you will need to make 6 cards, so grab whatever is in your stash. The supplies I will be using are pictured here:
1 – 12 x 12 double sided designer paper
3 – 81/2″ x 11″ card stock that coordinates with your designer paper choice
2 – 8 1/2″ x 11″ white or vanilla cardstock (whichever matches your designer paper)Stamp set with sentiments and images (or a set of each
Ink Pad – coordinates with your designer paper choice
6- envelopes (slightly larger than 5 1/2″ x 4 1/4″ which is the finished card size)
Punch or Die that will fit your selected sentiment.
Adhesive
Trimmer and scoring tool.
Let me know if you have any questions before, during or after live. I will try to answer as soon as I can. Please share this event with friends and family, create a watch party, and I would so appreciate if you would LIKE and COMMENT on the posts/event.
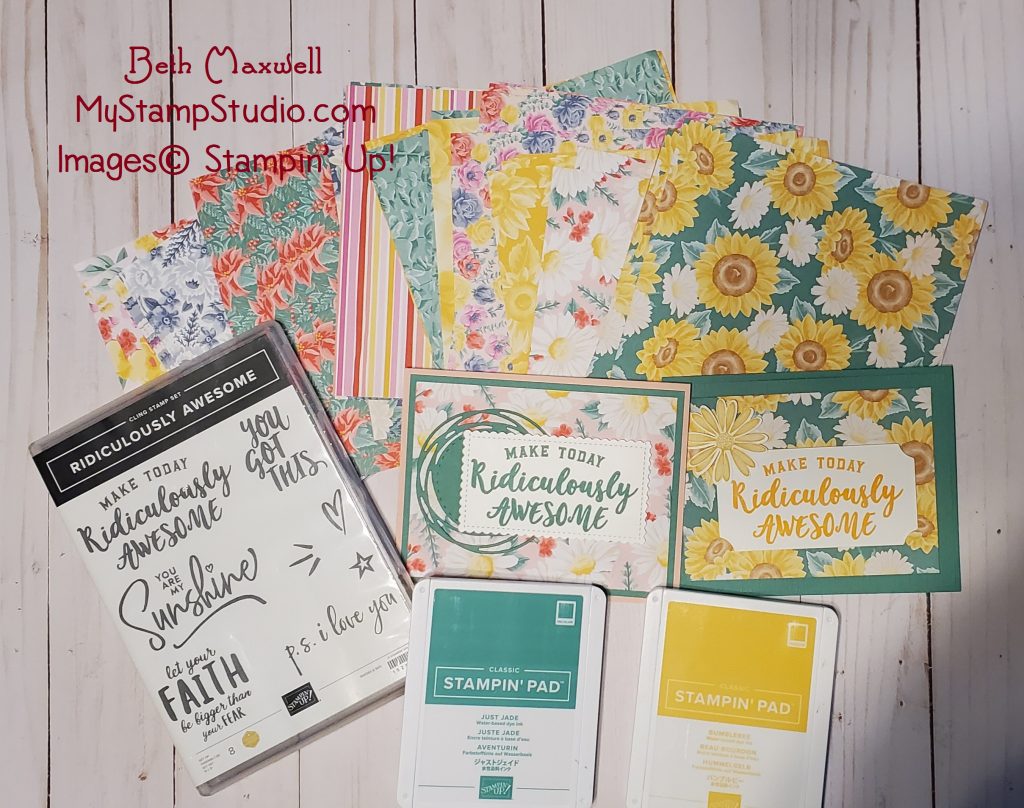
Even though this is a sentiment only set, I just love it for making quick cards. Add some ink, designer paper, cardstock and you are ready to go. You can always add a punch or a die to cut out the stamped sentiment. Add a little bling for that somethin’ somethin’ and you are all set to send it out. You could even make a stack of cards to have on hand. Breaking news…there is a Designer Paper special coming soon.
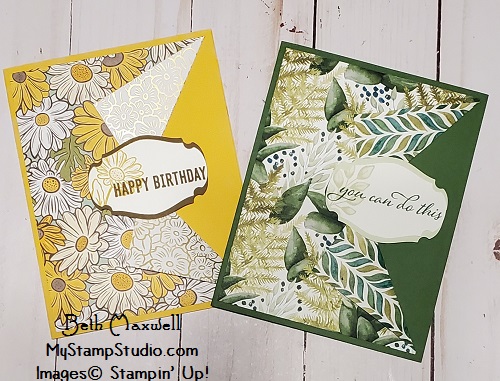
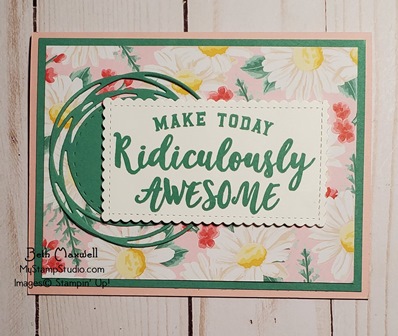
This first card I used just Jade card stock because it matched the flowers for every season DSP I selected. I embossed the first layer with the Subtle 3D Embossing folder and added my layer of designer paper. I then choose to use Bumble Bee ink for the sentiment I stamped on whisper white card stock and cut out using the Painted Labels dies. If felt like the card needed something more so I stamped two daisies from the Daisy Lane stamp set and punches them out using the medium daisy punch.
This second card, I choose a card stock for the base that was not listed in the coordinating colors as I thought it still went well with the DSP. I choose the Blushing Bride card stock and used Just Jade for my first layer and die cut shape from the Painted labels dies. I then stamped my sentiment in Just Jade and used the Stitched to Sweetly dies to cut it out.


Recent Comments