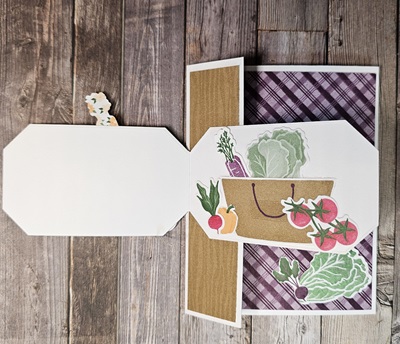
Isn’t this just the sweetest stamp set? And I love that is has coordinating dies with it! This is one of Stampin’ up!s newer Online Exclusive products. In fact it has a whole suite of products that coordinate with it!
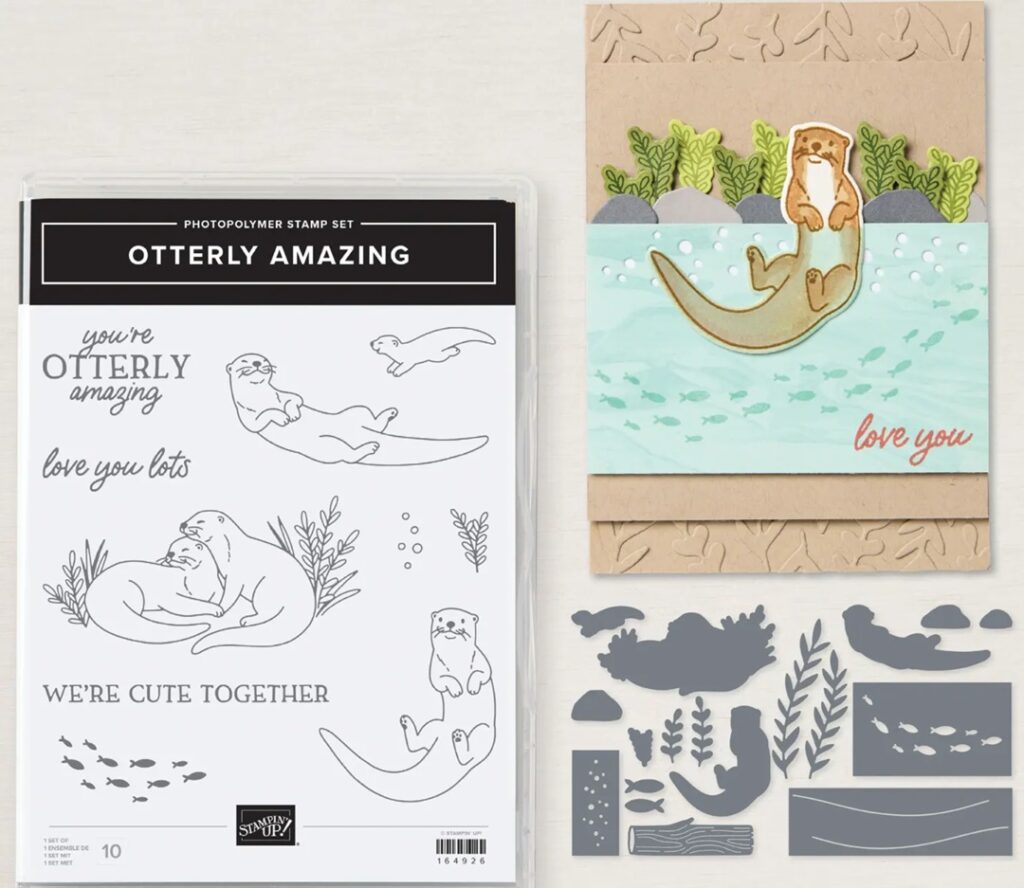
I Many Many Moons ago when I was in high school I did a Otter Sculpture from clay and also a hand drawn sketch of an otter. I loved Art class, I always did (even more than recess!) So when I saw this bundle, I knew I had to have it and share it with you all.
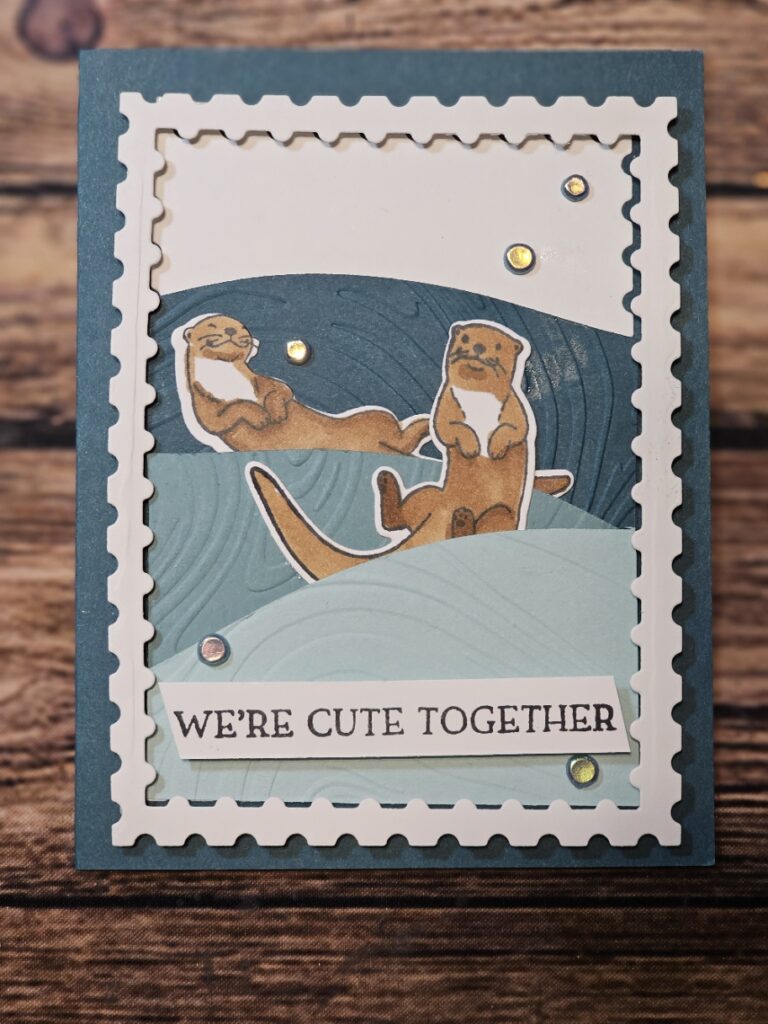
I did not even use the Designer Paper with todays card can you believe it? the card base is Pretty Peacock cardstock measured at 5-1/2″ x 8-1/2″ folded in half (or scored at 4-1/4″) . I made the frame from Basic White Cardstock using the Perennial Postage dies. I cut Lost Lagoon, Pretty Peacock and Pool Party card stock to 2-1/2″ x 3-1/2″ and embossed it with the So Swirly embossing folder. I stamped the otters, colored with Pecan Pie Blends, then used the coordinating dies to cut out and to make the embossed cardstock look like waves. You can check out the video below from my YouTube Channel. Below that is the supplies I used that are available in my Online Store.
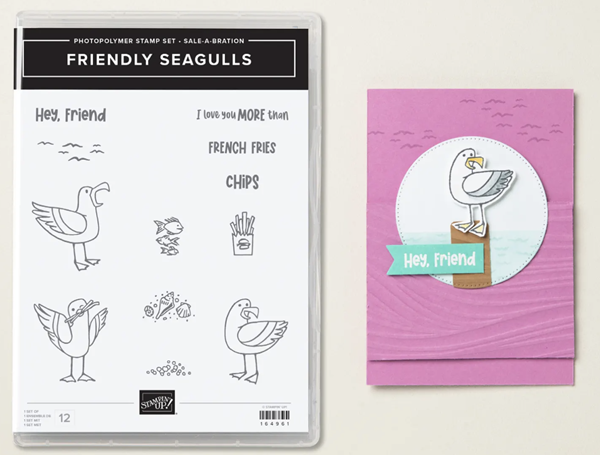
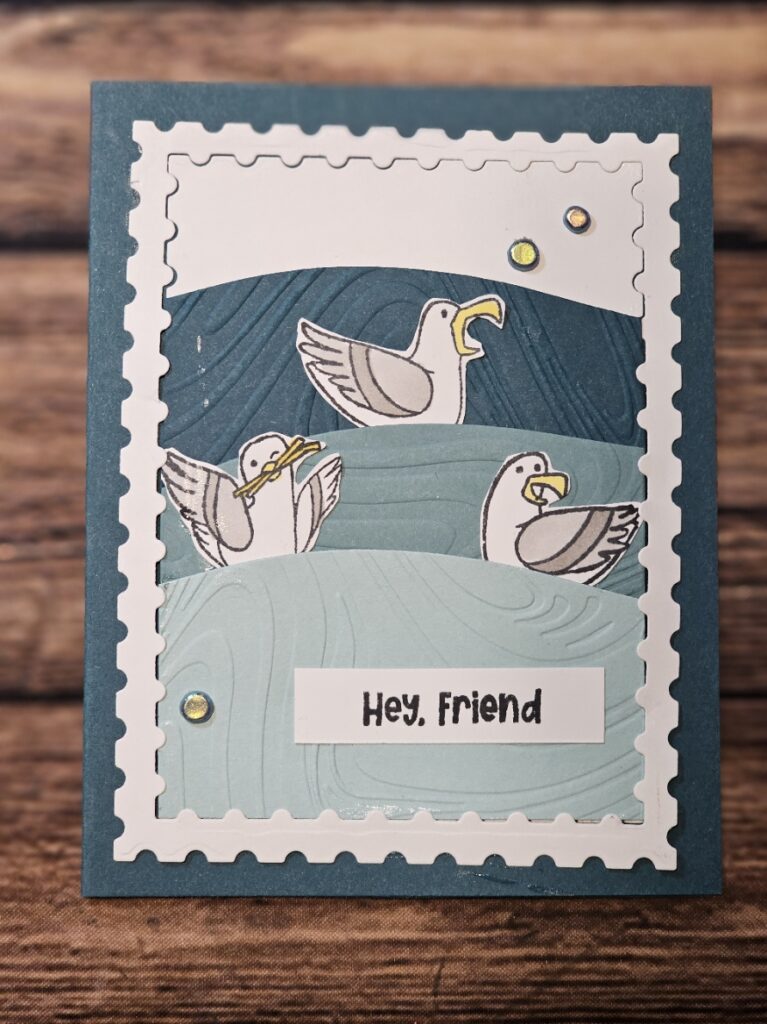
When you spend $60 (in US) in my Online store, you can get this Friendly Seagulls stamp set for FREE from Stampin’ Up! This is actually the card that inspired my Otter card, I found it on Pinterest but the person that created it did not have their name so I can’t give credit where credit is due.


Recent Comments